Table of Contents
- 1 220V Welder Plug Wiring Explained
- 2 Tools and Materials Needed for Wiring a 3 Wire 220v Welder Plug
- 3 How to wire a 220 outlet for a welder: Step-by-step
- 4 Wiring a 220V Welder Plug: Safety Precautions
- 5 220v Welder Plug Wiring Diagram
- 6 Fixing Common Problems of 220V Welder Plug Wiring
- 7 How to test and check your 220v welder plug?
- 8 Dealing with your 220V welder plug and electrical outlet
- 9 Frequently Asked Questions (FAQs):
- 10 In Conclusion
Last Updated on November 23, 2024 by John Patterson
Before I start guiding you on how to wire a 220 outlet for a welder, let me put out a disclaimer first.
Look, you must take care of your life first, then money.
Getting into any electrical installation and any other work requires proper knowledge. Otherwise, it will cause significant injury to death or perhaps a fire.
So, if you are not 100% sure that you will wire the 220V outlet for the welder without any trouble after reading this instruction guide, I recommend hiring an electrician wiring for a welder.
But if you are confident enough and pretty sure that you are rather handsome to deal with electrical equipment, let’s proceed.
According to Jordan Vellutini, managing director of Westline Electrical Services (Perth/Australia), you don’t have to be a licensed electrician to successfully wire the gear.
So, hold your horses and read through the simple list. I will give you a step-by-step guide on wiring a 220v outlet for a welder.
Remember, this is the way I wired a 220v outlet doesn’t mean this is the only way and set up to do the task. You can modify any of the following steps per your house setup and requirements.
Of course, I will try to generalize the steps as much as possible.
220V Welder Plug Wiring Explained
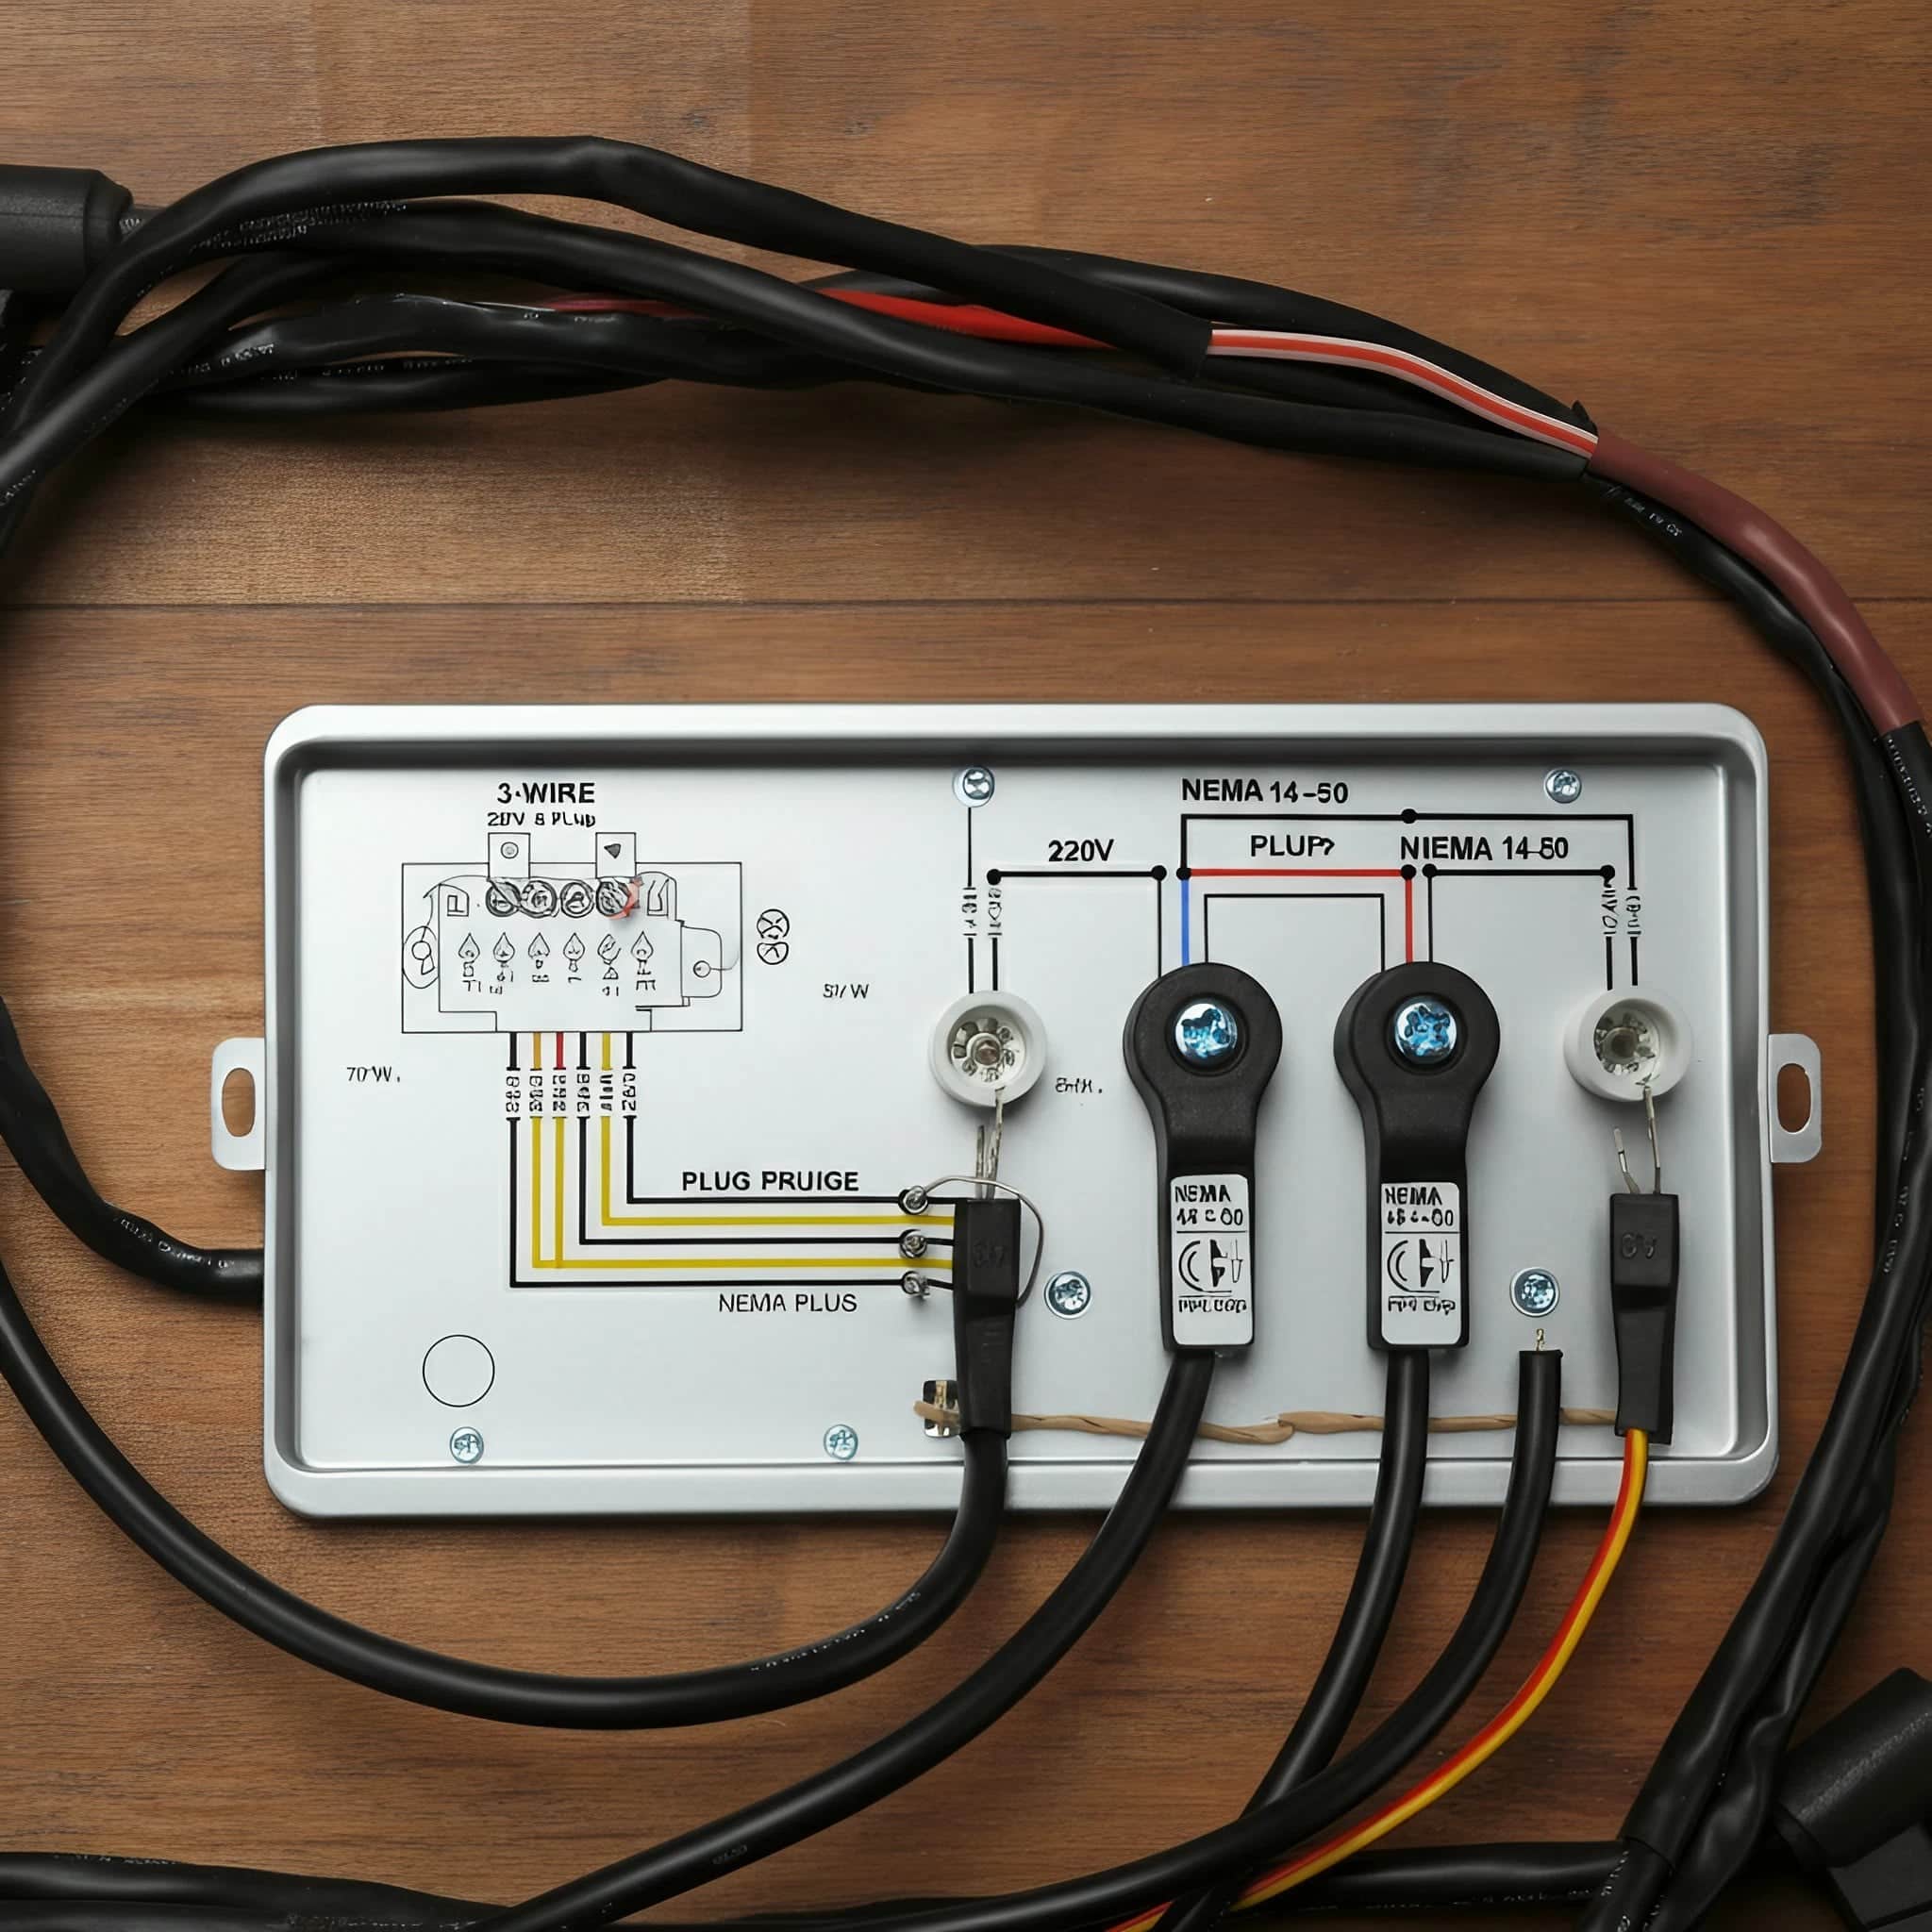
A 220V welder plug lets you link your welder to a higher voltage power system, and enables the machine to operate at peak levels. For example, they use thicker wires for 220V plugs and a different configuration than your typical 110V outlets, because the current associated with other heavy-duty appliances like welders is much greater.
If you are wiring a 220V welder plug, you would normally be working with three wires — two hot wires (220 volts of power) and a ground. Synthetic 220V-plug neutral: normal 240V circuits don’t use neutral.
Types of 220V Welder Plugs
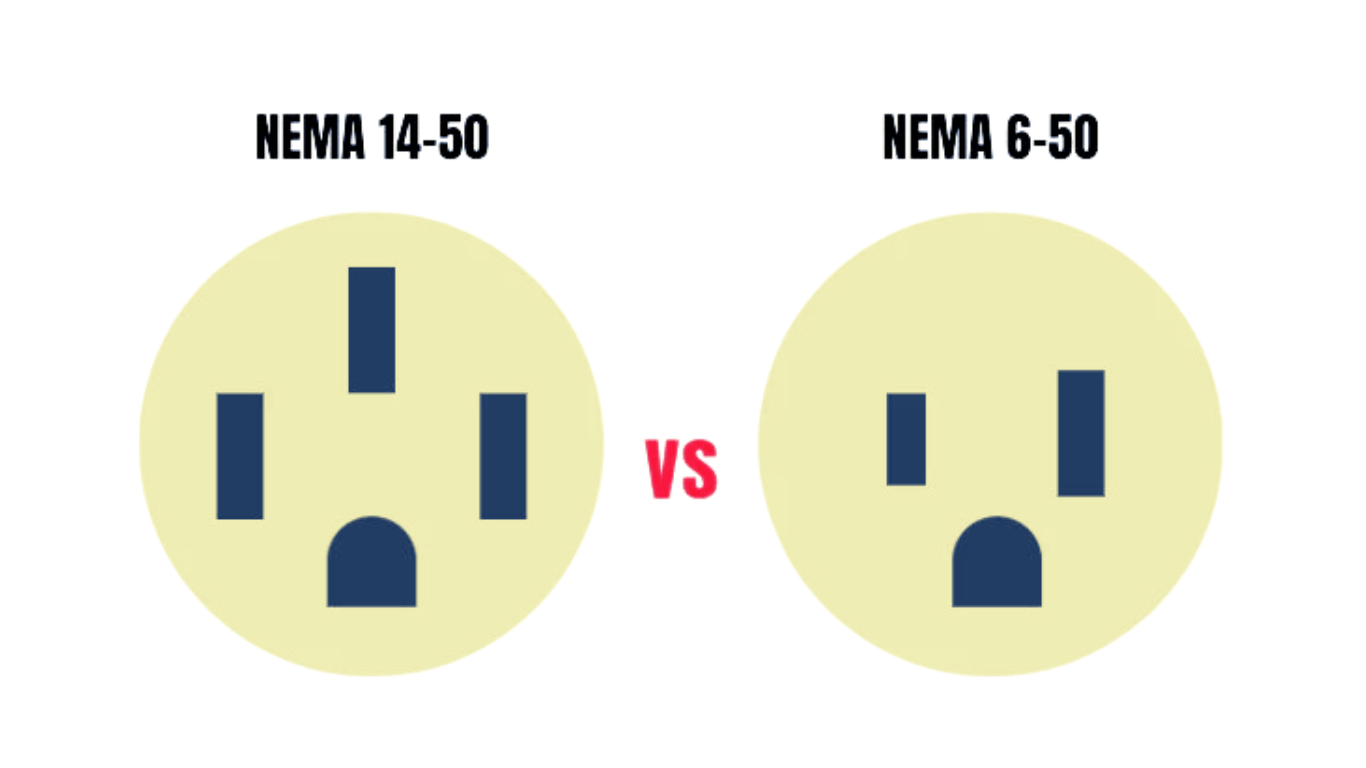
The NEMA 6-50 Plug
Most welders use the NEMA 6-50 plug configuration; this is nearly ubiquitous as far as welder use. It has 3 prongs connected, One each for hot wires and One for ground wire. It also remains a common one because many welders are equipped to operate with this plug.
Specifications:
- Voltage Rating: 250V
- Applicable Wire Size: 6ga-8ga
- The NEMA 14-50 Plug
The NEMA 14-50 plug:
However, this isn’t as widespread for home usage purposes as the NEMA 6-50 plug. It is a four-prong outlet that has two for the hot wires, one for ground, and one for neutral wire (most welding equipment doesn’t use neutral).
Specifications:
- Voltage Rating: 250V
- Wire Size Compatibility: 6 to 8 gauge
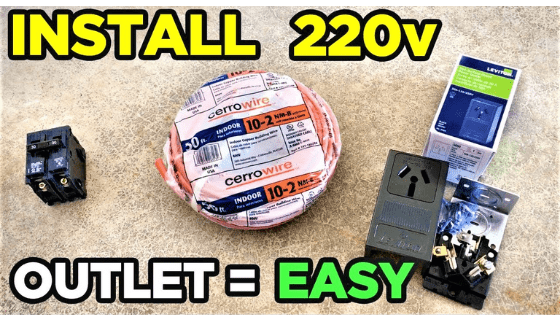
Tools and Materials Needed for Wiring a 3 Wire 220v Welder Plug
Let me first list down the necessary equipment for welder outlet wiring.
- A #6 wire.
- Flush mount two gang boxes.
- 50 amp flush mount welder outlet.
- Outlet cover.
- 50 amp two pole breaker.
- Non-corrosive adhesive.
- Cable ripper.
- Wire stripper.
Without further delay, let’s jump into the procedure step by step.
How to wire a 220 outlet for a welder: Step-by-step
Step 1
First and foremost, power off the circuit breaker and lock the handle. The main circuit breaker should be dead. Before that, don’t go to step 2.
Step 2
Once you’ve powered off the circuit breaker, snap the 50 amp two-pole breaker into the box.
Make sure your box supports a two-pole breaker, as it requires two spaces for the two-pole breaker.
I haven’t asked you to do anything with the wire yet. Once you’ve placed the breaker into the box, proceed to step 3.
Step 3
Then attach the flush mount to two gang boxes on the wall, and screw it in place.
Step 4
Time to play with the wires now.
Whenever I do wiring, I want to have a minimum of 6 inches of wire inside each receptacle box and some sheathing exposed in both the receptacle boxes (circuit breaker box and two gang boxes).
So, first, you pull out about 6 inches of the plastic sheath of the #6 wire (using the cable ripper) that will be used inside the two gang boxes with the outlet.
Step 5
Now pull out about 12 inches of the plastic sheath of the #6 wire using the same cable ripper. This part of the wire will be used inside the circuit breaker box.
Step 6
Then you strip about 1 inch of the sheath of each wire with the wire stripper.
Step 7
Now bring one end of the wire inside the circuit breaker box and the other inside the two gang boxes.
Step 8
Now the process of implementing the wire connection begins.
First, work on the wire inside the two gang boxes to connect with the outlet.
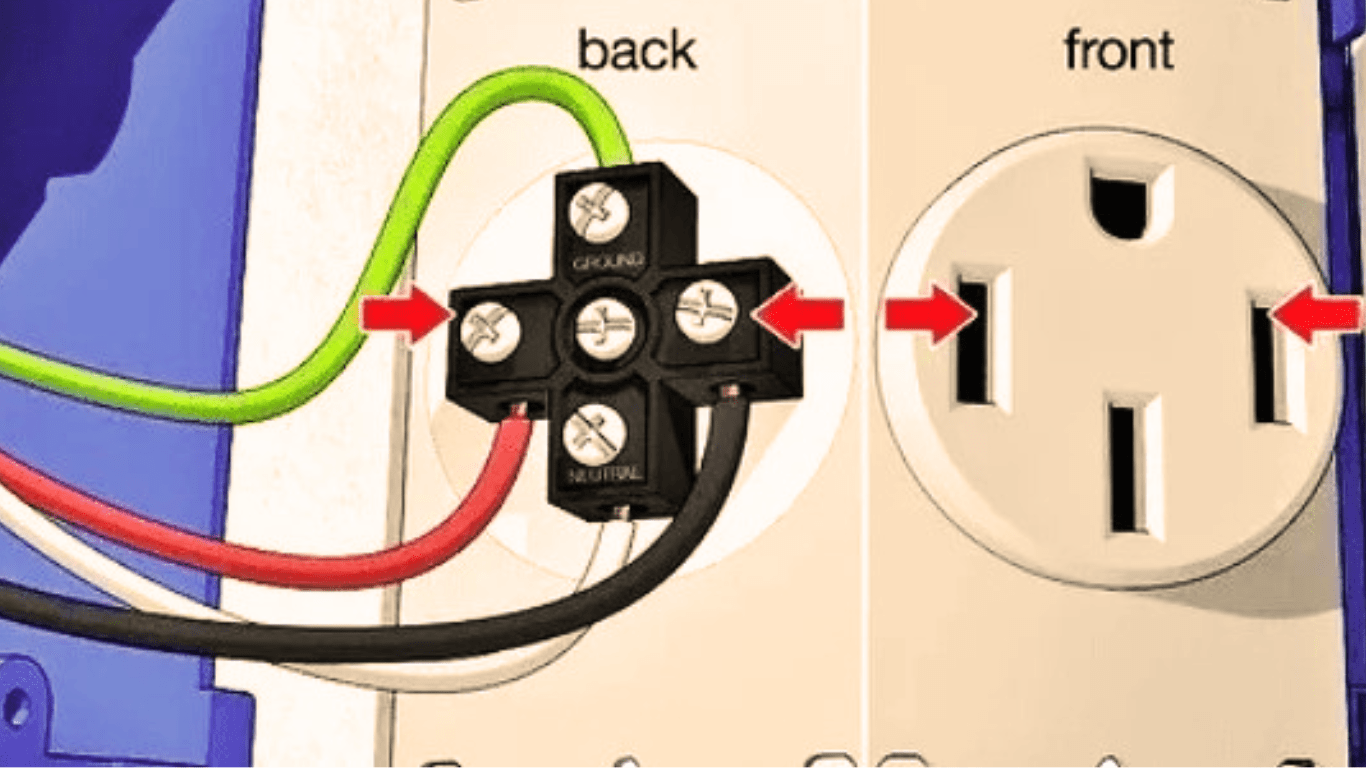
For this receptacle, you need three wires: the black one, the red one, and the bare wire.
The bare one is the ground. The fourth white wire is neutral; you don’t have to use that. So wrap the white wire with electrical tape and neatly coil it inside the two gang boxes.
Step 9
Then put the non-corrosive stuff at the tip of the wires to keep the connection from rusting.
Step 10
It’s time for the three wires (black, red, and bare wires) to be connected to the receptacle. Hook up the correct color wire against each screw. Meaning connecting the black and red wire with the two-prong terminal and the bare wire with the ground terminal.
Step 11
That’s it for the outlet part. Place it, screw up and put the cover on, and screw the cover properly so that it looks professional.
Step 12
Now connect the three wires to the breaker. Before that, do the same thing with the neutral white wire as you did just a moment ago at step 8.
Step 13
Strip these wires if you haven’t done them already at step 6. Put the non-corrosive stuff.
First, hook up the ground wire.
Step 14
Hook up the black and red wires. Follow the breaker manual to know the accurate terminals to connect the cables.
Step 15
That’s it. You are done. Now cover the circuit breaker box. Power up the main circuit breaker and turn on the 50 amp breaker.
Happy Welding!
Wiring a 220V Welder Plug: Safety Precautions
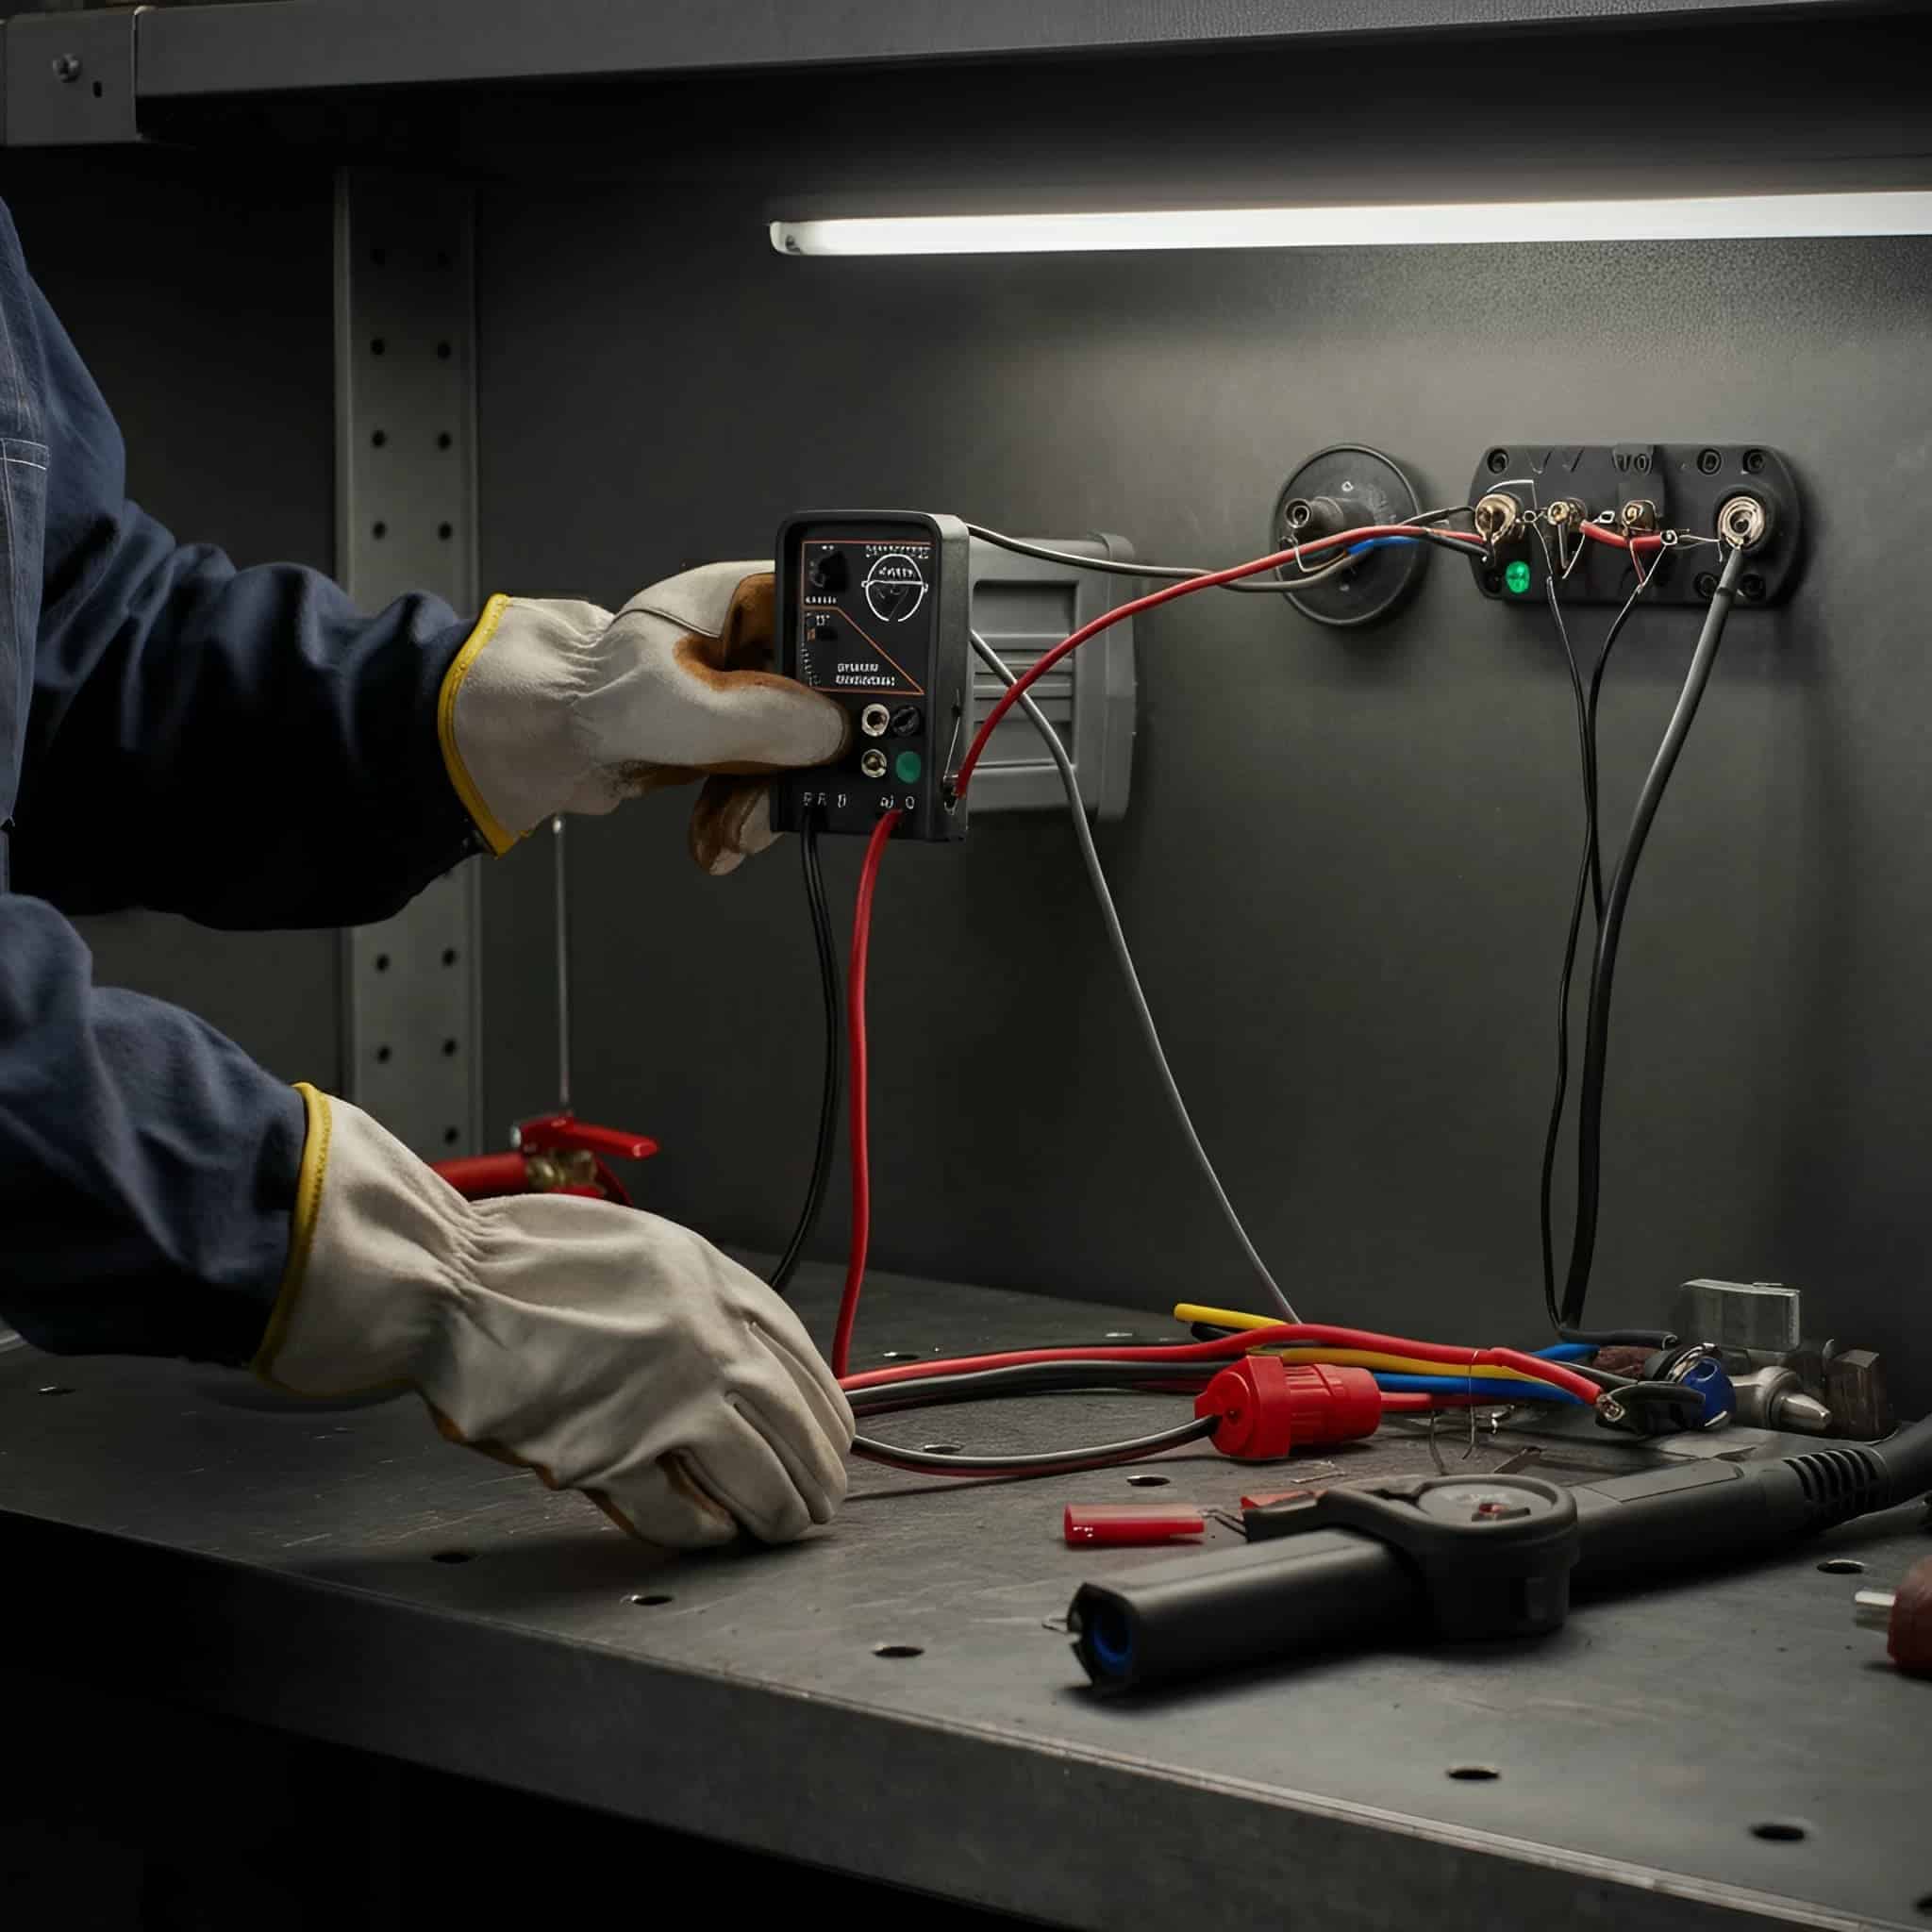
As with all projects, you must put safety first before starting. Before doing so, take these precautions to be sure you are in a safe functional environment.
Turn Off the Power Supply
The mains power circuit breaker should always used off as to prevent any electric shock when wiring the plug. Use a voltage tester on the breaker to ensure no live current is present.
Wear Protective Gear
Wear insulated gloves and safety glasses to protect yourself from shocks, sparks and debris when working.
Choose the Right Wire Size
Choose your welder amperage wire size according. Most welders work fine with 8-gauge wire or 8/2 cable, but read your equipment specifications.
Use the Right Tools
Essential EquipmentWire strippers, screwdrivers, pliers, voltage testers, etc. Ensure these tools are well maintained and suitable for electrical work.
Follow the Wiring Diagram
Use a trusted wiring diagram to make correct connections. It is very easy to make mistakes and that can cause malfunction and also may damage your welder.
220v Welder Plug Wiring Diagram
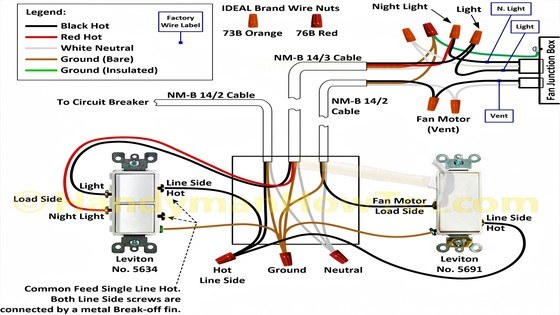
Reading the Wiring Diagram
A wiring diagram is a group of graphic symbols, combined with test points, that tells you how to connect each wire correctly. In a simple 220V welder plug wiring diagram, there will be two hot wires going to the prongs and one ground wire connected to the rounded prong for grounding.
Identifying Wire Connections
Hot Wire: Connected to one of the prongs (Black)
Hot Type: Red (or White): Second hot wire which connects to the other prong.
Green or Bare: Ground wire for the grounding prong.
Continue across these associations as demonstrated in your welding tool manual or a believed wiring diagram for similarity.
Fixing Common Problems of 220V Welder Plug Wiring
Eventually, wires will get crossed. Here is how to troubleshoot a few common issues.
Issue 1: Incorrect Wire Gauge
Wires can become too hot and the wire will be unsafe if to small gauge is used. Make sure to verify with the amp requirements of your welder 6 or 8-gauge wire.
Issue 2: Loose Connections
Intermittent power loss or sparking can be generated from loose wires. First, ensure all wires are tight and then reconnect power.
Issue 3: Grounding Problems
Inadequate grounding can create electrical dangers. You want to make sure that the ground wire is connected to the rounded prong.
Issue 4: Insufficient Power
Check the circuit breaker, if the welder is not performing to specification; make sure that it is rated as required for his amperage Step 2: If the breaker is too low, upgrade it.
How to test and check your 220v welder plug?
Well before you need to plug in your welder, check out the wiring to make sure everything can operate safely. Check the voltage with a multimeter between the two hot wires — and from each hot wire to ground. Between the hots, it should be 220 volts; between both hot wires and the ground, 110 volts.
Test it with a welder by plugging in the welder to make sure your wiring is right.
Dealing with your 220V welder plug and electrical outlet
We do know that over time, the plug and outlet that your welder plugs into can become old or worn. Some quick tips on maintenance to get more life out of them are:
Periodic Check-up: Look for evidence of wear, burn or loose contacts.
Clean Connections: If any corrosion or oxidation has collected on the prongs of your plugs, a non-corrosive cleaner will get those clean.
Outdoor Protection: If your setup would be outside, get weatherproof covers to protect the outlet from weather.
Frequently Asked Questions (FAQs):
How Do You Wire a 220 Plug With 3 Wires?
To wire a 3-wire 220 plug, connect both hot wires (black and red or black and white) to the prongs of the plug, and green or bare ground wire to the grounding prong.
More often than not, those welders are designed to run on single-phase power so they do not require a neutral conductor because the load represents an unbalanced and non-linear impedance.
Does a 240v Welder Need a Neutral?
You don’t need a neutral wire for 240V (220V) welders. Instead, they only run two hots and a ground.
What Wire Do I Need for 220 Welder Outlet?
They will typically require 8-gauge wire (8/2 wire), though a few welders, due to their amperage needs, will call for heavier 6-gauge wire.
What Wire Do I Need for 220v 30 Amp?
Use 10-gauge wire for a 30 amp circuit. But check your manual — every welder is different.
Quality Welders Reviews
#1. Esab Rebel Welding Machines
#2. Klutch Welders
#3. Lincoln Handy Mig Welding Machine
#4. Vulcan Welding Machines
#5. Eastwood Welding Machines
#6. Hyl Welders Buying Guide
#7. 11ov Stick Welders
In Conclusion
To float your boat, I explained the procedure in layman’s terms.
I hope it will be a piece of cake for you now to wire a 220v outlet for your welder. But as mentioned earlier, if you are not confident enough, hire a licensed electrician.
Keep in mind you have to purchase the breaker rated equal to or above the amp required by your welder, and the welder’s plug has to match the outlet.
Not to mention, you must consider buying quality materials for this project. Don’t go cheap. You are already saving your bucks by not hiring an electrician.
Have you got anything to ask? Comment below.
