

Last Updated on March 1, 2021 by John Patterson
Paver sealing is an essential task to preserve the paver color and longevity.
Being said that, sealing your paver driveway or walkway is not something that you do frequently.
Nonetheless, like every other task, it is important to know how to apply a paver sealer to complete the sealing like a professional.
But before applying you should have top-quality paver sealers, right?
In this article, I am going to guide you through the step-by-step process of applying paver sealer properly.
You have to prepare for it with the necessary tools and equipment. The whole process involves some precautions and must follow steps too.
Hang onto your seat because I’m going to explain all these.
How to Apply a Paver Sealer: Step-by-step Guide
Step 1
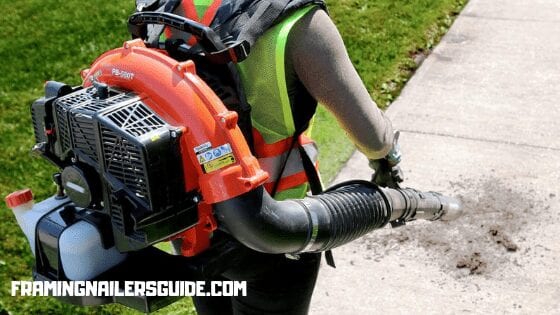
Before you start applying a paver sealer, it is essential to use a leaf blower to remove any sand, debris, or litter.
Step 2
Once you are done blowing the sands away, check if you have any crooked or twisted paver. If so then level them first.
Step 3

Now, wash the whole area to blast away any sand joints or moss and weeds. If you see some stubborn grime then using a pressure washer will be the best deal for you to wash them away.
Once you clean the whole paved area let it dry for at least one or two days. If required more. But in most cases, two days are good enough.
Step 4
So, at this moment you have the dried-out surface. Now you can apply the paver sealer.
Use either a water-based sealer or solvent sealer depending on how tightly the pavers are laid together.
If the pavers are laid tightly together without joint sand then use the solvent sealer. On the other hand, use a water-based sealer if they are not laid tightly and you need to harden the joint sands. The water-based sealer penetrates the paver more than the solvent sealer.
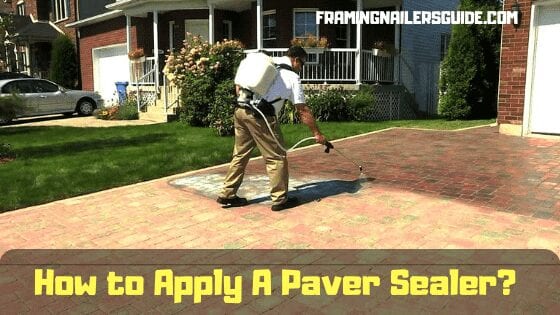
Read the instructions first to use the proper tools to spray the sealer. Here I’m considering you are going to use a water-based sealer. So, very likely you need a pump sprayer to apply the sealer.
Get ready with the pump sprayer with sealer in it.
Step 5

Now apply the sealer with the pump sprayer in about 60-70 sq ft sessions. Use a circular motion for even distribution.
Step 6
After completing each 60-70 sq ft session, use a nap roller for back rolling to get the best result. Back rolling is important because it will allow you to distribute the sealer evenly and get rid of any access inside the pocket of the paver.
Step 7
Repeat steps 5 and steps 6 until you are done with the whole area.
Step 8
I assume you need to work in tight areas. Use a paintbrush to reach the tight areas and seal the pavers properly.
Step 9
Once you are done applying the sealer all over your paver driveway or walkway, now it’s time to let it dry again.
Allow it to dry for at least a day or more if required. Better if you can keep the area free from traffic during this period. It will help the sealer to dry up nicely and give you a shiny paver that you would have expected.
Let’s watch the video to apply a water-based wet-look paver sealer
Final Words
Ensuring the even distribution as well as avoiding over-application is crucial here.
When you back roll the surface with the roller, the thickness of the roller plays a vital role to let the sealer penetrate the pavers.
Very likely the sealer manufacturer has the instruction about how thick the roller should be. In general, just remember the roller should not be too thick nor too thin.
I’m sure you are now clear about how to apply a paver sealer properly.
Now it’s time to implement. Throw me a question if you are not clear about any step.
Related Post:
