Table of Contents
- 1 What Type of Nails for a Shingle Roof?
- 2 Types of Roofing Nails
- 3 Types of Roofing Nail Materials
- 4 Roofing Nail Gauge
- 5 Roofing Nail Sizes Chart/Shingle Nail Size Chart
- 6 Manual Nailing versus using a Pneumatic Nailer
- 7 Rock and Length of Material nails
- 8 Frequently Asked Questions
- 8.1 Can I Use Screws for Roofing Shingles?
- 8.2 What Type of Nails Should Be Used with Shingles?
- 8.3 How Many Nails per Square?
- 8.4 The Cost of Roofing Nails
- 8.5 What Type of Nails for Felt/Underlayment?
- 8.6 What Type of Nails for Roof Flashing?
- 8.7 What Type of Nails for Sheathing?
- 8.8 How to Fix Nail Pops in a Roof?
- 8.9 How to Seal Exposed Nails?
- 8.10 Can You Reuse Roofing Nails?
- 8.11 How long should roofing nails be?
- 9 In Conclusion: Essential Role of Nails in Roofing
Last Updated on November 21, 2024 by John Patterson
With roofing, even the smallest details make a difference—especially which nail to use on shingles. While nails may not be the primary focus of roofing, it is crucial to understand that they are an integral part to having a long-lasting and stable roof.
Whether you are a contractor looking for some extra information, a homeowner doing your roof or preparing to do yours as a DIY project—know the various form of nails and how to use them is critical.
In this guide, I will go through what nails to use for a shingle roof. We will cover details from material and design all the way to length and gauge so you can make the most educated choice.
What Type of Nails for a Shingle Roof?

Roofing nails are not just for shingle attachments, they secure your defence against inclement weather, leakages or structural damage. Indeed, a faulty roofing system may come from using the wrong type of nails since this will cause shingles to fall out or moisture to penetrate through weak points.
Comprehending the role nails play in keeping your roof stable will hopefully save you from costly repairs while prolonging the life of your roof.
Types of Roofing Nails
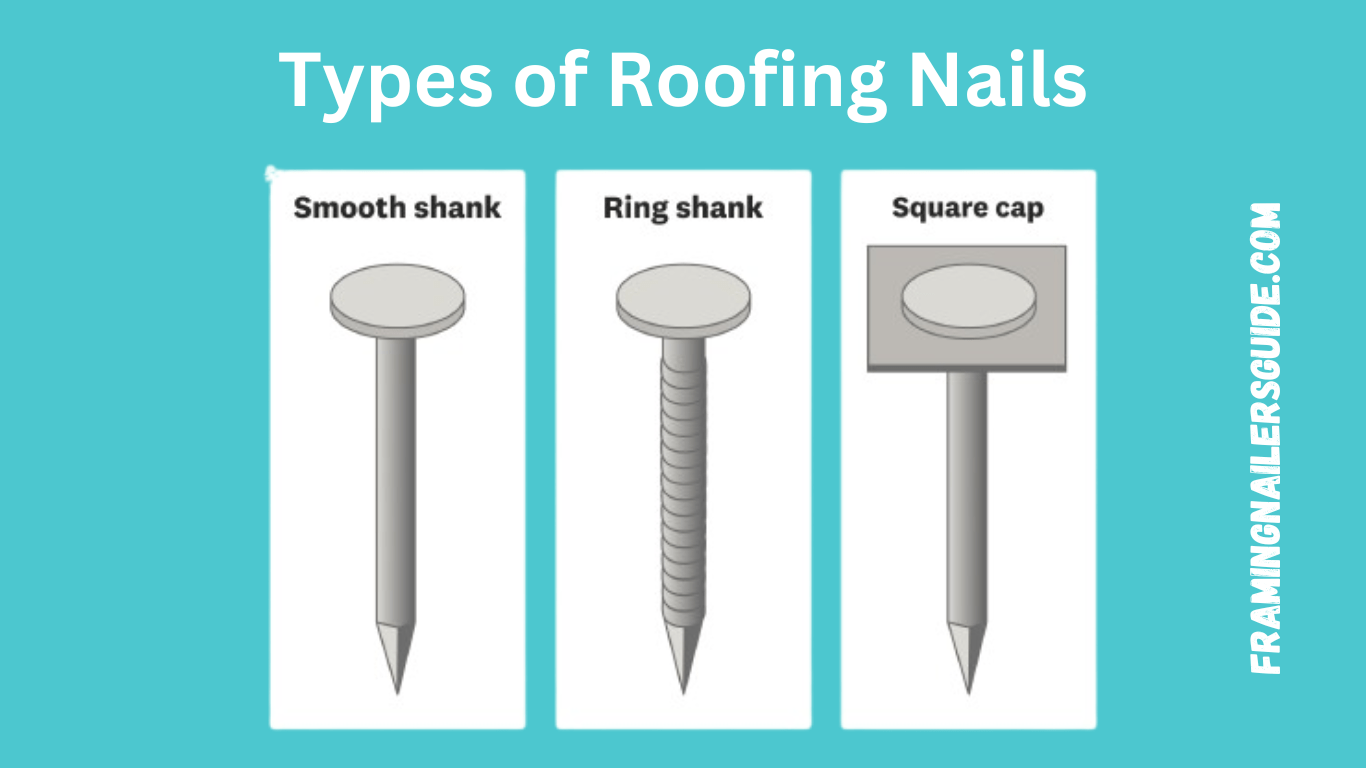
Various roofing nails serve different purposes. However, knowing which style fits your roof material and conditions can help all the difference.
Smooth Shank
Smooth shank nails — This type of roofing nail is the most common. As the name suggests, these nails come with a plain, round body. Cheap and easily obtainable they may not give the best grip, especially in windy areas or bad weather.
They are generally best for basic roofing projects or roofs in regions not as susceptible to extreme conditions. On the other hand if refined holding power is required, smooth shank nails are not always the solution.
Ring Shank
Ring shank nails have a ridged surface that grips into the shingles and into any underlying roof material even more securely than smooth nails, making once again for an extra holding power. These nails are used by contractors who work in windy or stormy areas.
They are ideal in areas with harsh weather or for especially important roofing projects, as they mean that the nails hang on better than smooth versions. Common with synthetic shingles or high-performing less virgin based materials
Square Cap
Instead, square cap nails are meant for holding down underlayment or roofing felt but not shingles. Their wide square cap design provides optimum coverage to keep the thinner under-shingle materials from tearing or being compromised.
Although not driven directly into shingles, these nails are part of the structural layers that compliment your entire roofing system.
Types of Roofing Nail Materials
The composition of nails affects their durability, corrosion resistance, and suitability for various environments.
Galvanized Steel
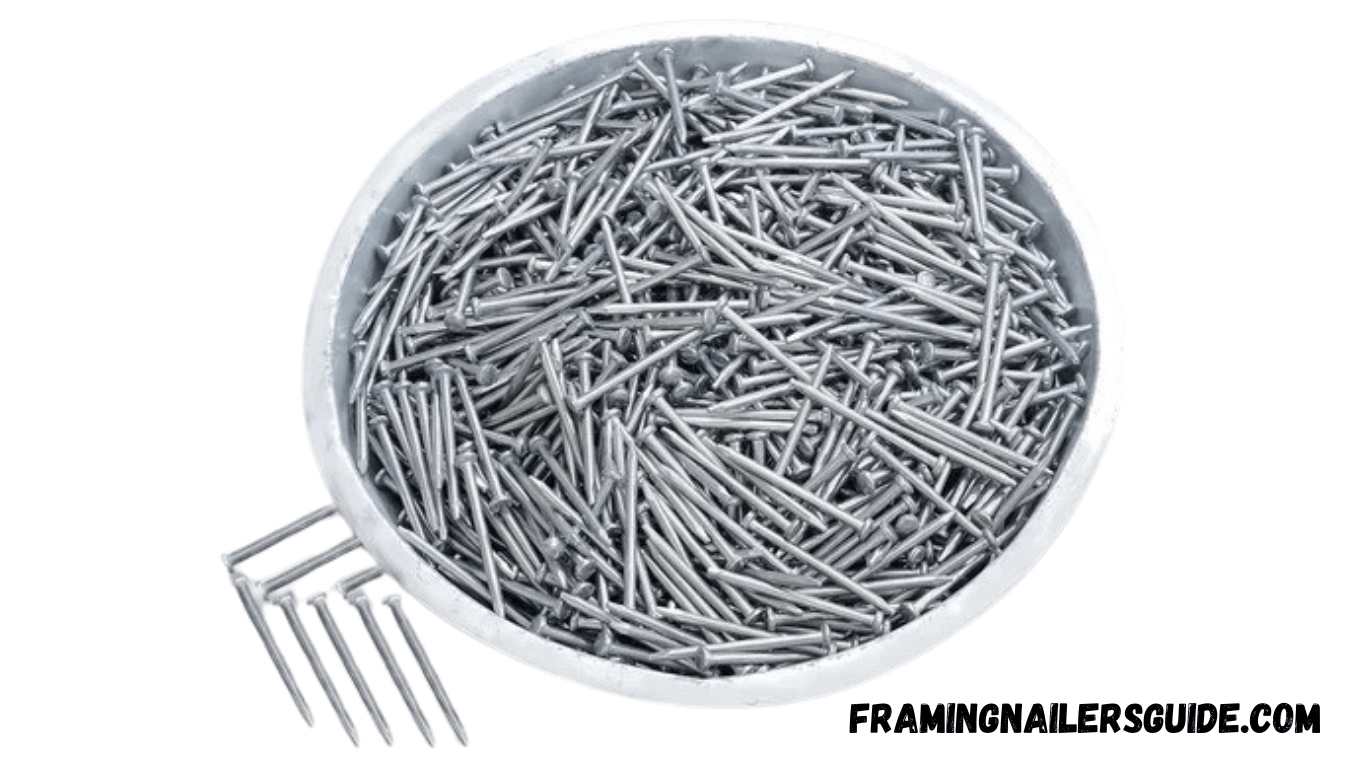
Nails that are coated to minimize corrosion and rust make galvanized steel ideal for roof work. These nails survive rain, sun or snow and never lose their grip on the shingles.
This is another reason they are very popular amongst DIYers due to their cost-efficiency. That said, they should be assessed against particular climates and roofing materials before any purchase.
Copper Roofing Nails
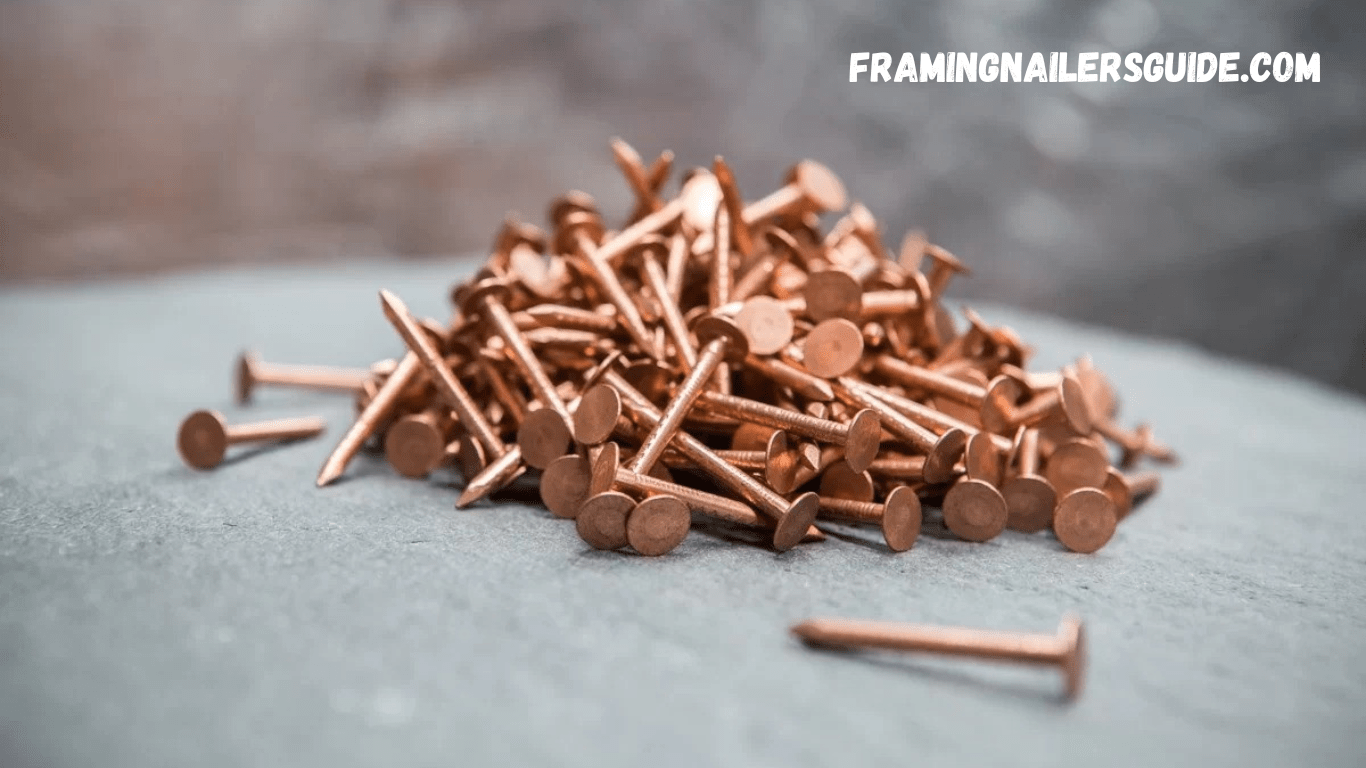
Copper nails are generally only used on higher-end roofs, like slate or tile shingles. Any DIY roofing guide will list that copper not only boast extreme durability but has the added benefit of corrosion resistance making it perfect for the coastal or humid environment.
The downside is that they can be much more expensive then other materials. However, when it comes to upscale roofs, copper may hold the secret to long-term satisfaction.
Stainless Steel
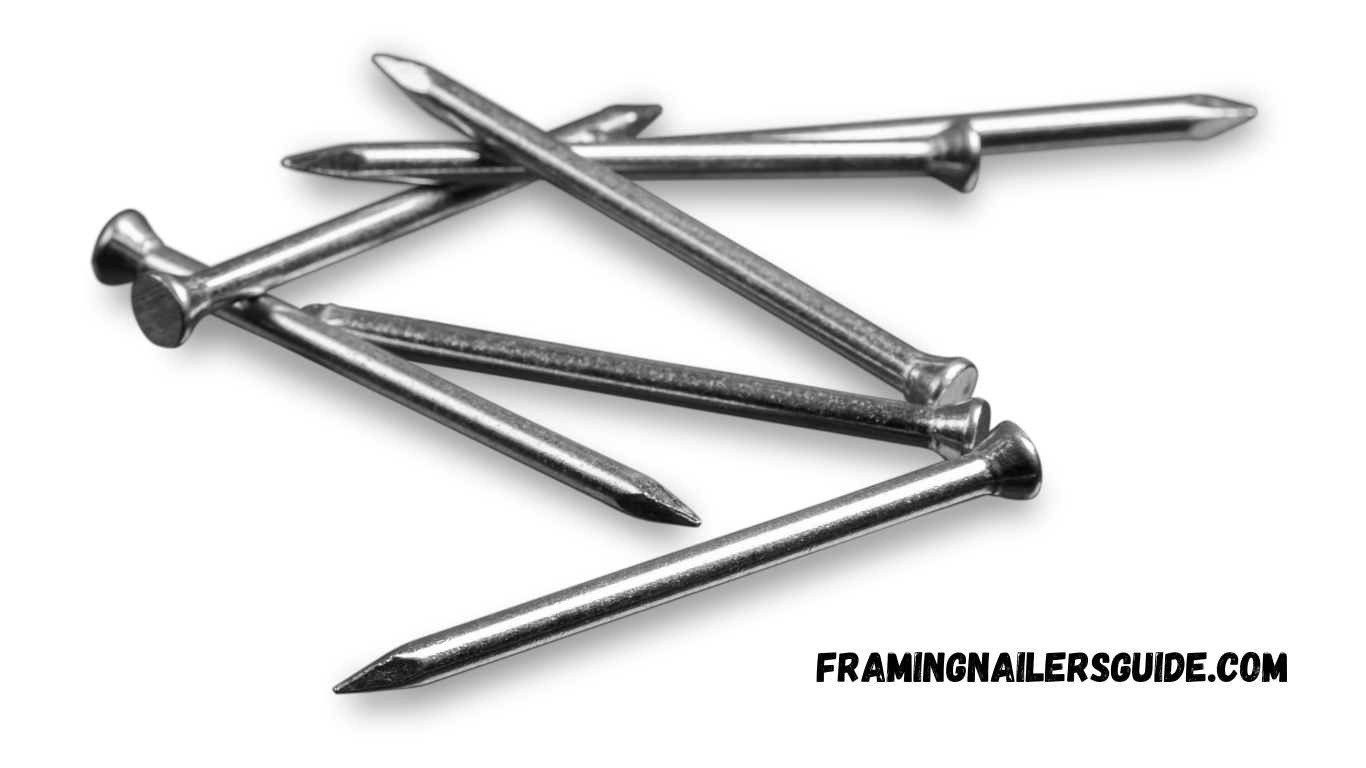
Another durable and weather resistant choice are stainless steel nails. And like copper nails, they can be used in the worst places where there is no escape from saltwater or humidity.
They are both cheaper than copper, yet more expensive than galvanized steel. A more contemporary mix of value, durability and protective properties is achieved with the use of stainless steel.
Aluminum Nails
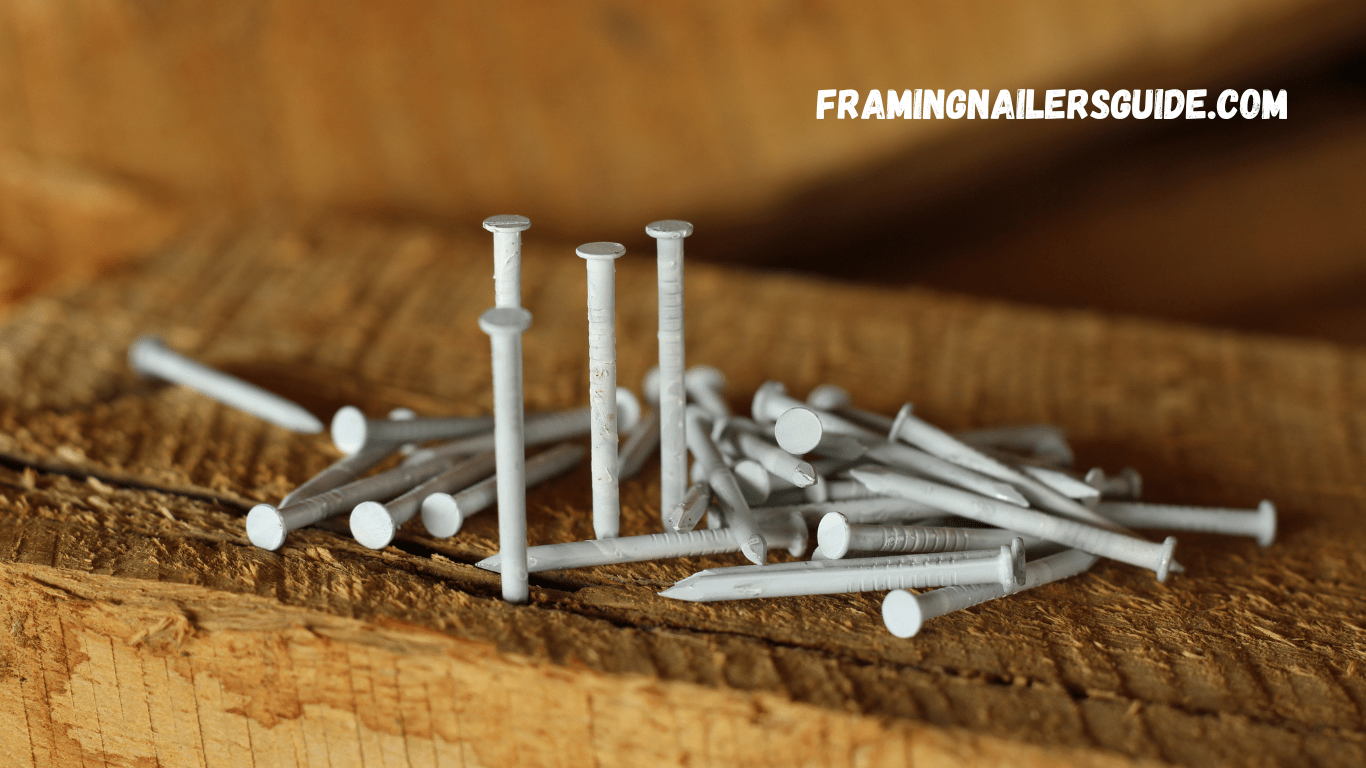
While aluminum nails are cost-effective and light, they are generally not the best option for asphalt shingles. They aren’t as strong and corroding-resistant as their steel or copper brothers. Aluminum nails, if used, are best reserved for specialty applications and not general shingle installations.
Roofing Nail Gauge
Gauge – This is the thickness of the nail. Most roofing nails fall within the range of 11-gauge to 12-gauge. If you have a shingle roof, the heavier duty nails are typically better for driving through multiple layers and providing more security during heavy viaduct weather.
The proper gauge varies mostly by your roofing materials and what your roof is made of.
The Types of Nails for Roof Underlayment, Flashing, and Sheathing
Using different types of nails for various roof layers will undermine your roofing system.
Cap nails should be used to fasten felt or underlayment.
Flashing: Use either stainless steel or galvanized nails to hold flashing securely in place.
Sheathing: This layer is important, and ring shank nails are perfect for fastenings.
Making sure that your nails can stand on each and every layer of your roofing system helps create a well-integrated, long-lasting installation.
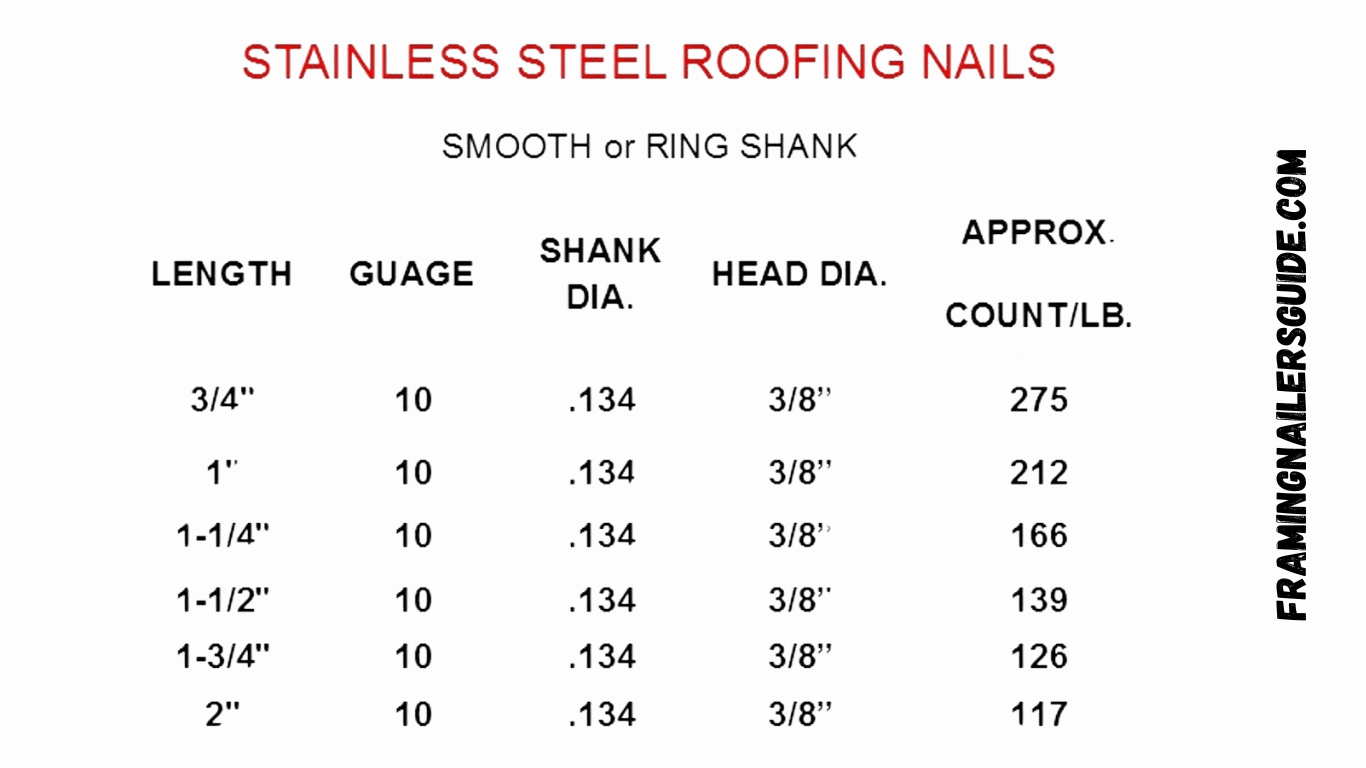
Roofing Nail Sizes Chart/Shingle Nail Size Chart
| Nail Length in Inches | Nail Length in Penny Inches |
|---|---|
| 1 ½ | 4D |
| 1 ¾ | 5D |
| 2 | 6D |
| 1 | 2D |
| 1 ¼ | 3D |
Manual Nailing versus using a Pneumatic Nailer
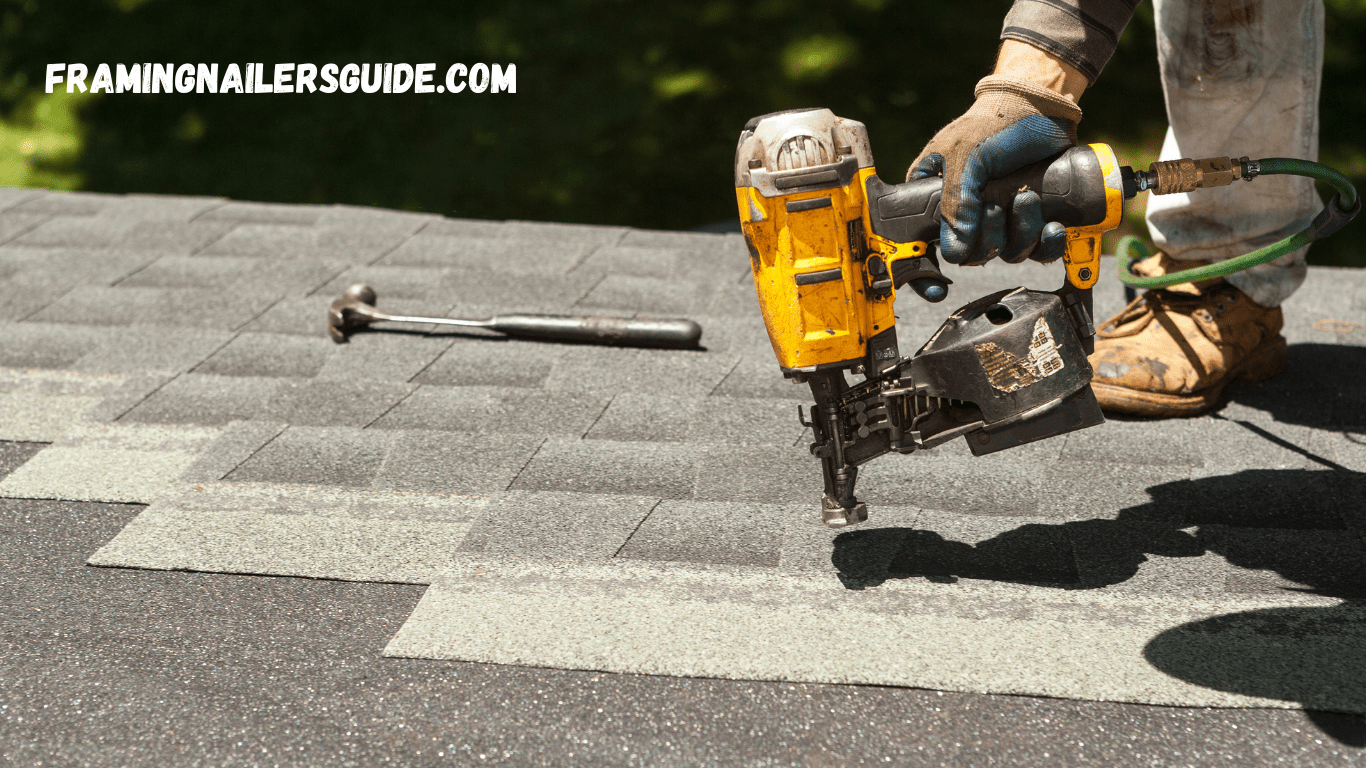
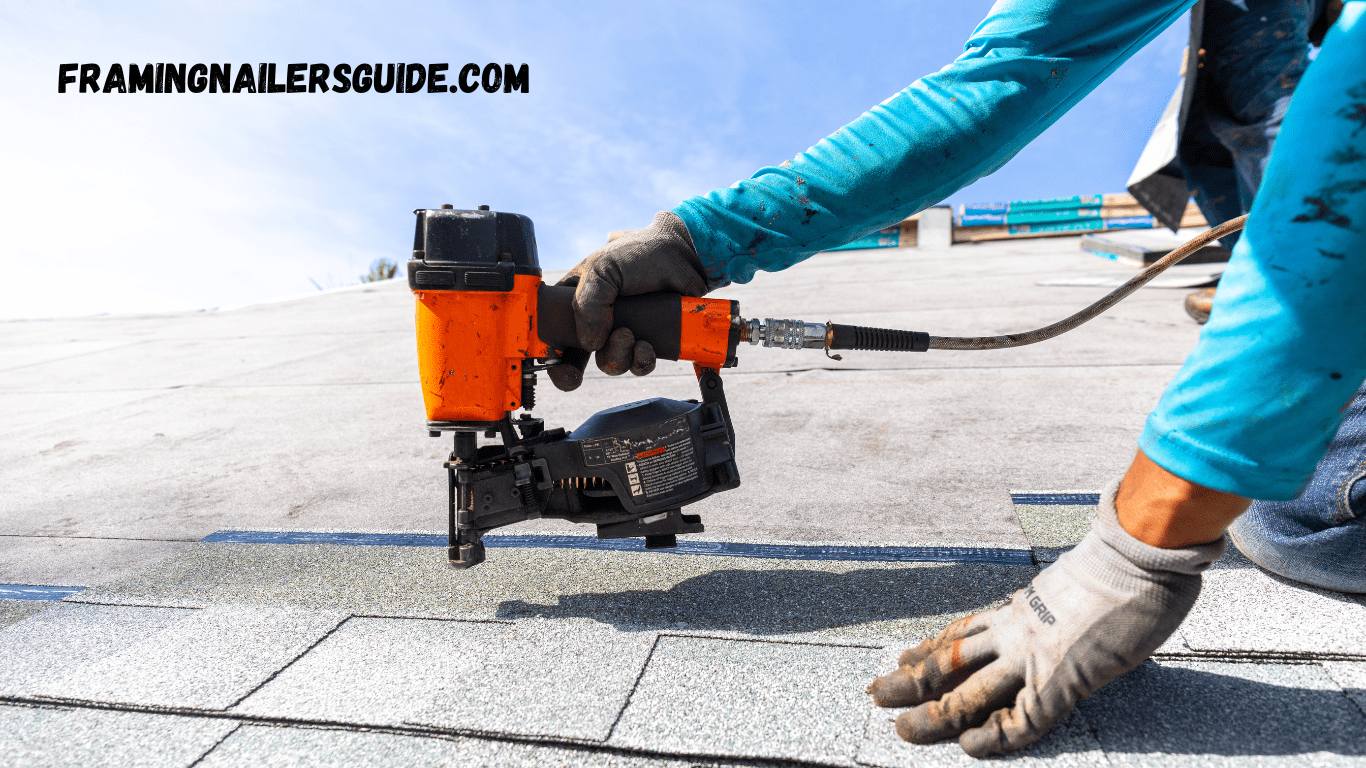
To pound the nails in by hand or to use a pneumatic nailer? There are benefits and drawbacks to each method, so much like the answer above, it can depend on the roofer quality of work/effort required as well as overall size of project.
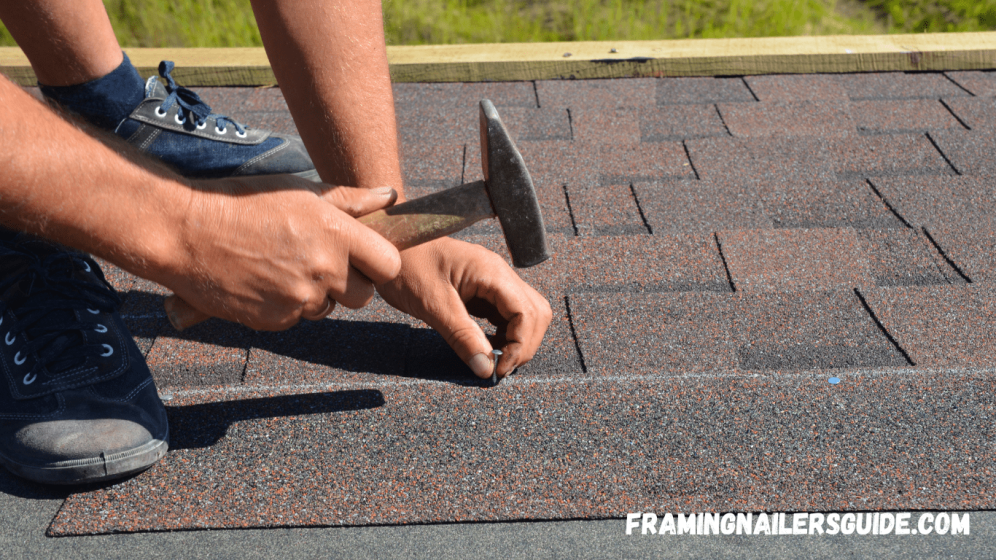
Hand-Driven Nailing has the benefit of precision and control, but is more time-consuming. For small DIY projects with the precision over speed.
Ideal for extensive tasks, pneumatic nailers are fast and efficient. But the shingles risk being overdriven if not used properly.
Rock and Length of Material nails
When it comes to roofing nails, nail size, length and type is as important as the material itself. Based on the thickness of your shingles and underlayment, you’ll want roofing nails ranging from 1 – 2 inches.
Nails must penetrate the roof deck and hold stud at least 3/4 inch. Verifying this metric prevents the danger of shingles coming loose over time.
Frequently Asked Questions
As it relates to roofing, every detail matters. Wondering what kind of nails to use for your shingle roof? You are not alone. I know that nails are not the most exciting part of roof installation, but if you want your new roof to last decades without issue, properly used and installed nails are paramount.
So, if you are a home owner doing a DIY roof/roofing project, or roofing contractor looking for the best way to do your job, or DIY enthusiast wondering what nails are suitable (and going on to improve in this field) this info will save YOU time and money while putting an end to those headaches!
In this guide, we answer all of the most commonly asked questions about roofing nails, covering everything from the type and size of nails to what they are used for on different areas of the roof. Stay tuned, and by the end, you’ll not only be well acquainted with your roofing nails but also confident in how your roof will fair for years to come.
Can I Use Screws for Roofing Shingles?
The thought of using screws for shingles may sound creative, however it is actually a bad practice.
Unlike nails, screws do not have the flexibility to cope with shifting roof materials. Roofs do naturally expand and contract, and nails can accommodate this fluctuation without causing damage to the shingles. However, screws may draw the shingles too close to the deck, which can make material susceptible to cracking or ripping with time.
Lastly, screws simply cannot be used as part of regular roofing practices. Nails feature large, flat heads that keep shingles in place without tearing them. Particularly sharp-threaded screws can weaken or create holes through the textured material during mounting.
If you are considering screws, because you think they will hold better, do yourself a favor and buy expensive roofing nails instead. This will allow them to get the grip needed without making the roof rigid.
What Type of Nails Should Be Used with Shingles?
In the world of shingles, choosing the right kinds of nails is crucial to longevity and weathering.
Roofing Nails
The industry standard is technically roof nails, or roofing nails for short. They usually possess a broad, flat head, a sharp point and some have smooth or ring shanks. Large head allows for non tearing tensile grip when nailing shingles down, a sharp tip penetrates the roofing material with minimal force and damage.
Material
Roofing nails are typically made of galvanized steel, aluminum or stainless steel. While monthly rates vary, the most popular option is galvanized steel nails; their zinc coating protects against rust and corrosion—important for some regions.
Shank Type
The shank of the nail also plays an important role. Smooth shanks are good for most DIY roofing projects, but ring Shank offers a better holding power due to its grooved shape. In high-wind areas, contractors typically use ring-shank nails to avoid having shingles pull free as time passes.
How Many Nails per Square?
When Going Green for the Proper Nailing Is as Important as Selecting Proper Nails Proper nailing patterns and engravings for a square of shingles (100sf)
Industry Guidelines
Four nails per shingle is the most common recommendation. But if the roof pitch is greater than 21 degrees during high winds in some areas, six nails should be used per shingle. It is this count that holds the shingles in place, irrespective of weather.
Underdriving and Overdriving
When hammering nails into the shingles, be careful. Nails that are driven too low leave shingles loose, while nails that are overdriven go in too deep and puncture the material. Nails should be sunk flat with the shingle surface without tearing or creating a dimple.
Proper nail count and placement secures your roof to handle routine winds as well as harsh storms.
The Cost of Roofing Nails

Planning the Budget of your Roofing Project? Although it a smaller cost, roofing nails is another one of those expenses.
Price by Box
The average price of a box of roofing nails is between $15 and $40, depending on material and quantity. The cheapest are steel nails and the most expensive range goes to stainless nails which include higher resistance against corrosion.
Long-Term Investment
Investing a bit extra into high quality roofing nails is worth it in the long run. Lower-quality, cheaper nails may corrode or come loose more quickly, which could mean repairs are needed sooner than expected.
Quantity Recommendations
On average, for a residential roofing job, you will require between 10 and 20 pounds of nails per square.
What Type of Nails for Felt/Underlayment?
Nailed felt/underlayment can be put in place using either common or roofing nails.
The nails for roof felt or underlayment differ slightly from those needed to install the shingles above.
Simple Roofing Nails
For nailing felt, standard galvanized steel nails are ideal. These nails are also not subjected to the elements like the shingle nails, thus it does not need protection against corrosion as much.
Cap Nails
Cap nails are also sometimes utilized as a more secure option, with the head of the nail being held in place by either plastic or metal disc. The cap helps to spread the pressure over a larger area, thus preventing tearing.
Correctly sized nails ensure that your underlayment will stay put even in a storm.
What Type of Nails for Roof Flashing?
Roof flashing — which is used to make sure that areas where the roof meets a vertical surface or joint stay watertight — requires delicate installation.
Galvanized Nails
To resist rust, flashing also needs galvanized nails like shingles. Nails need to be rust-free since this application will usually get wet.
Small Head, Large Strength
Use 1-inch smooth or ring-shank nails. Length of these nails is sufficient to fasten flashing without protruding or harming nearby components.
Flashing nails are a somewhat trivial detail, but you’ll want to choose high-quality flashing nails once again since its an important detail in preventing leaks.
What Type of Nails for Sheathing?
Roof sheathing is the foundation of your roof, so every nail needs to be counted.
Ring Shank Nails
Sheathing is best attached with ring shank nails, which grip the sheathing more firmly.
Size and Material
Nails used for sheathing are generally 2-inch long galvanized steel nails. Long enough to actually penetrate the material, yet resistant to weather effects.
Proper sheathing nails are a key element of a dependable leak-free roof.
Nail pops are roof problems that can be repaired using this step-by-step method.
Another common roofing problem Nail pops (where nails push up from the shingles) Repairing them quickly stops additional harm.
How to Fix Nail Pops in a Roof?
These are typically the result of temperature changes and expansion of the materials. A major issue also is when someone does not nail properly.
Steps to Fix
Pry Off Old Nails: You have to carefully pry out the popped nails without lifting up a shingle.
Seal the Site: Apply some roof sealant into the hole that was drilled where the nail was.
Localized Re-Nailing: Slightly drive a new nail alongside the old hole and be sure to sink it flush.
If nail pops are dealth with correctly, there will be no gaps for leaks.
How to Seal Exposed Nails?
Free nails can also get water inside which can compromise the shingle, however sealing of this area correctly leads to no issue in this area.
Roof Sealant
Use a good quality roofing sealant or caulk over the top of any visible nail heads. Which makes it resistant to weather and uv light.
Clean Application
Caulking gun gives a clean finish. Eliminate extra sealant to avoid unsightly buildups.
Can You Reuse Roofing Nails?
Sure, you can do that technically but it is not the best practice.
Structural Integrity Issues
Nails that have been used before can be bent or rusted or other wise weak, making the whole roof less secure.
Cost vs. Risk
Nails are less the cost than what you lose with old, out-of-order nails. Long-term reliability should always take precedence.
But new nails could spare thousands when it comes time to repair the roof.
How long should roofing nails be?
Having nails that are the right size is important to fastening across all layers securely.
Standard Length
Roofing nails are typically 1 to 2 inch long. Length depends on how thick the materials you are nailing are, which includes shingles and underlayment.
Why Length Matters?
To avoid leaks, the nails should penetrate at least ¾ inch into the roof deck for optimal holding power. Not long enough, the bond is weak; too long and nails may out themselves underneath.
A correct size ensures stability and weather-tightness of your roof.
In Conclusion: Essential Role of Nails in Roofing
Its strengthlessness can be seen in its name: roofing nails; the phrase which literally binds everything together. Picking an incorrect nail type, size or material or using inferior quality can compromise your roof. Knowing all about roofing nails is useful in saving money, durability of the roof and safety for homeowners, contractors and DIY enthusiasts.
Make your choice wisely, whether it is for a roofing project that you are about to embark on or maintenance. A roof that is secured is a permanent roof.

