Table of Contents
Last Updated on November 21, 2024 by John Patterson
Have you ever wondered how big a nail should be used for baseboards? You’re not alone! Whether you are a DIY lover, a homeowner working through some of the renovations/upgrades for your house, or an interior designer, learn to specify the details accordingly; the easiest is how big a nail it would take. In this article, we’ll cover how to pick the right nail size for your baseboards without compromising form or function. So now you are about to delve into the baseboards and how to achieve an impeccable look!
Do You Need to Nail Your Baseboard Trim?

Nailing is one of the most crucial steps in installing baseboard trim. In addition, only by properly securing baseboards can they improve the room, in a good appearance direction, prevent any gaps, and actually be stable as long as possible. With the proper size nails, you can create a good finish with no clefts or damage to wood.
One question that beginners, especially, ask is whether you need to use nails for your projects at all. Don’t worry, though. Nailing gives you a secure hold that glue simply doesn’t have. Regardless of the alternative options, nails are a good fastener, particularly in high-traffic areas where toughness is essential.
Many have skipped this step because they decided that glue or other fasteners were sufficient. However, this can eventually cause baseboards to pull away from walls. Nailing is very effective, a time-tested process that guarantees your baseboards stay secured against the daily clashes they face.
Are There Other Methods?
You know how ads and clips are presented as laudable solutions instead of set nails for baseboards? Although these techniques are appealing due to their ease of use, they have limitations. Glue could get a bit messy, and the hold may not be as strong, especially if it encounters uneven walls or constant contact with the baseboards.
Clips, however, demand accuracy and a prepped surface. They can also restrict how much fine-tuning you can do after you put in your baseboards. That rigidity can be a downside with some projects — especially on walls that aren’t perfect in an older home.
Nailing is still the best option because it offers a perfect mix of strength and flexibility. It permits corrections during installation and keeps the baseboards flush against the wall, producing a professional appearance that other methods cannot match.
How Do You Nail Baseboard to Molding?
Mark the Studs:
It is important to permanently mark the studs in the wall before you start nailing. Studs act as a firm backdrop for your nails; give them something to dig into so you can make sure the baseboards stay put. Take your stud finder or tap along the wall–you can find these structural members.
After finding all the studs, set two pencil marks at the desired height for your baseboards. This step may seem inconvenient, but it ensures your nails are perfect every time and prevents hitting holes in the baseboards.
Prepare Equipment:
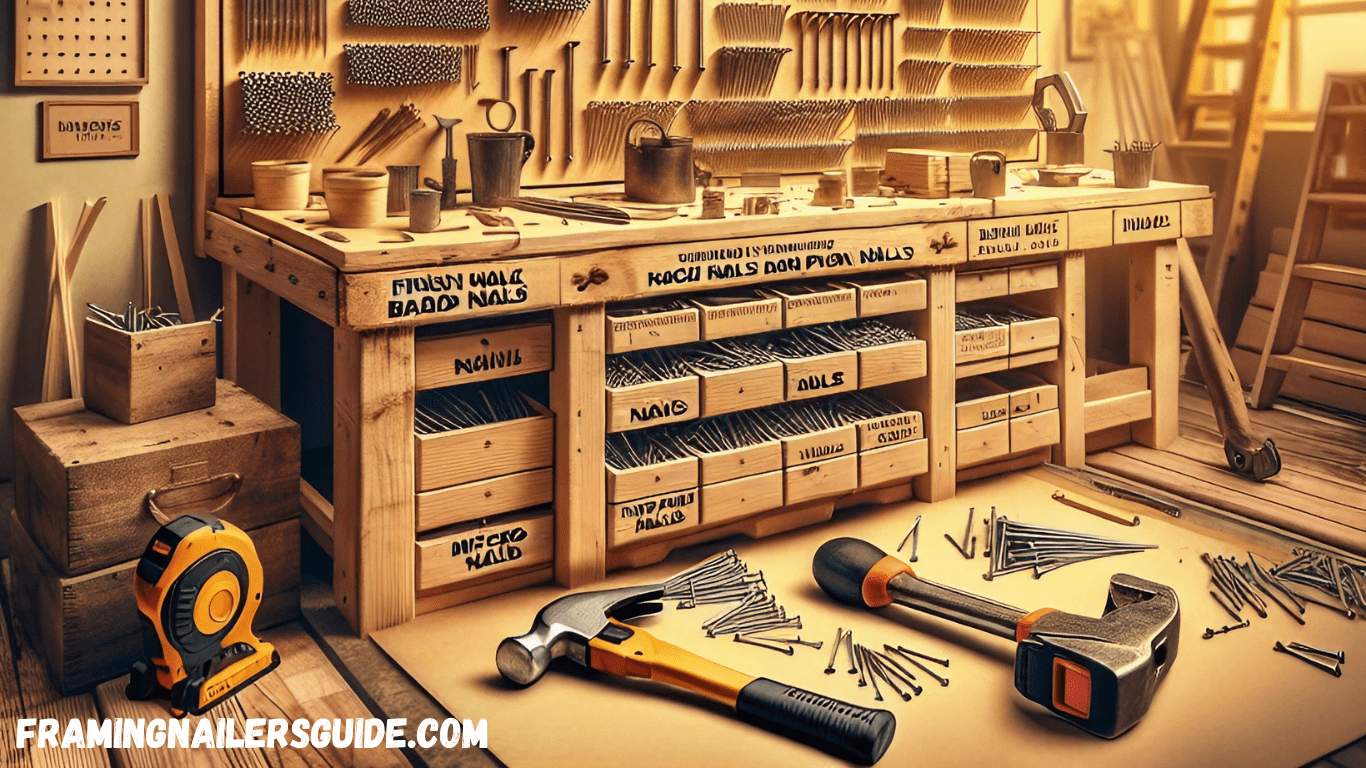
The first step is to make sure that you have all the tools needed before starting the installation. For tools, you’ll want a hammer or nail gun with the appropriate size nails, a tape measure, and a level. This makes the process simpler and also helps to keep you focused by allowing you to grab what you need throughout.
Preparing your workspace is just as important. Make sure there is nothing else around and good lighting. That means you will make fewer mistakes, and your end result will look like that of a professional worker.
Begin Nailing:
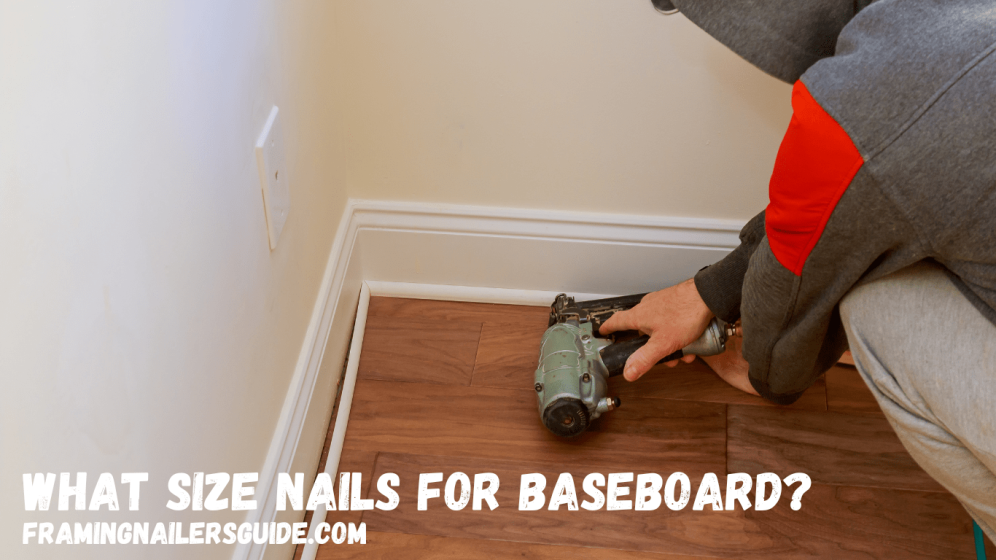
Set the baseboard against the wall and in a level position. Start hammering on one end, driving nails in at the stud marks. Leave around 16 inches between each one, and hammer it at an angle for better grip.
Nail heads should be driven below the surface of the wood using a nail set so they can later be filled. That small detail is a game changer for the end finish as it allows for completely seamless paint or stain.
What Size Nails Work Best?
Gauge of Nails:
A 15- or 16-gauge nail is ideal for securing baseboards.It’s the classic blend of strength and gentle, enough hold without acquiring size which may cause splits in base boards.
Getting the right gauge avoids headaches down the road: loose baseboards or exposed holes. Keep in mind that the gauge determines how deep the nails penetrate both the wood and wall so make your choice accordingly.
Filling Nail Holes:
If nailed, fill the holes with wood putty or filler. This step here is what makes your baseboards look smooth and like a complete project. Select a color-matching or paintable filler – matching the color with your baseboards
Press the filler into the holes using a small putty knife. After this has dried, sand lightly with 400 grit in order to ensure that the surface is as seamless as possible so it can be finished properly. That level of detail enhances its overall appearance and demonstrates your dedication to quality craftsmanship.
Types of Nails for Baseboards

Finish Nails:
For baseboards, the most common nail is finish nails. Their heads leave very few marks due to their smaller heads, and these nails work great on projects where you need a clean finish. They fit into a variety, and pan with hardwoods (which almost always form baseboards).
The nature of finish nails has become the default choice for many–offering durability that can last an installation. Their strength keeps the baseboards in place, even when households or commercial compositions getting strong.
Brad Nails:
Brad nails (which are a bit smaller) will only be used for trim work that is delicate. Though not as powerful as finish nails, they are ideal for baseboards that are thinner or softer wood boards. Since their heads are smaller, they require much less filling and have become a go-to for fast projects.
That said, if the baseboards are thicker or you expect them to receive a lot of traffic then brad nails will not hold it stable. Their biggest selling point is that they are subtle, and thus perfect for trims where there cannot be much visibility.
Micro Pin Nails:
These are the smallest of nails, and reserved for only the finest works of trim. They’re really more of an accessory for other forms of fasteners that provide a small bit of additional holding strength.
Baseboards are not often attached with micro pin nails because of their weak hold. They could be placed when appearance is everything and any nail head is an eyesore, but they should be used with heavier fastening for strength.
How to select the appropriate size of baseboard nails?
Length:
The length of nails is important to know when choosing the right size. For your baseboards, nails range commonly from 1.5 inches to 2.5 inch long. This length is long enough to penetrate the studs but not so long as to poke out the other side.
Additionally, your baseboards and wall material will affect what you choose. Some baseboards are thick, or if you have plaster walls, you may need longer nails to secure the nailer.
Gauge:
The thickness of nails is determined by the gauge size. Most baseboard jobs require little holding power which is why a 16-gauge nail fits the bill perfectly — great strength with less noticeable holes. If you are applying to thicker baseboards or a heavier material, then more support might be needed, in which case a 15-gauge may be required.
Knowing how gauge and length are related will help you choose a nail that is suitable for the project so that it provides enough strength without looking bad.
FAQs: What Size Nails for Baseboard
But, choosing the best size nails for baseboards leaves you with a few questions. We have put together some of the most asked questions and their answers to help guide you through the process.
Is it OK to use a nail gun for baseboards?
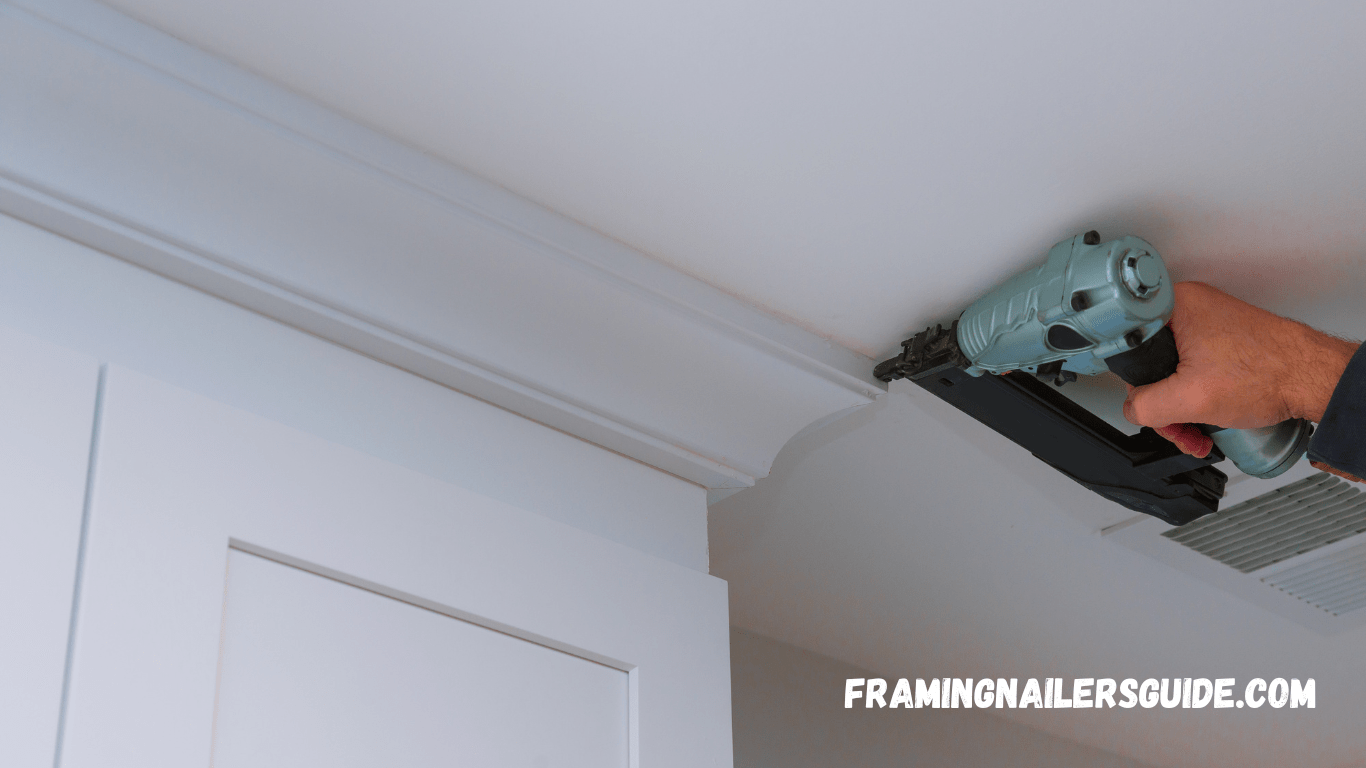
Absolutely! The nail gun goes through a lot faster than hammering and each nail is sunk to the same depth in the same place, which makes it perfect for novices and experienced DIYers alike.
What if I use the wrong size nails?
If you use the wrong size, baseboards could either not remain flush against the wall, or nails could split the wood. Nails – Always think about the material and type of wall before you pick your nails.
You will be applying glue on top of the nails?
Don —Using both works, but only one is really needed. Having that extra step simply makes many feel more secure.
This duo will help provide more stability where walls may be uneven or if you have areas with high foot traffic.
How to Measure Baseboard Like A Pro?
Ultimately, knowing the answer to what size nails for baseboard is critical for a smooth and sleek result. With our tips, from marking studs to using the right type and size nail, your project will last.
In Conclusion:
So if you’re a homeowner, DIYer or even interior designer, getting this right with your baseboard installation makes it practical and aesthetic. And now armed with the knowledge you need to feel confident that you can tackle your next project. Happy nailing!

