Table of Contents
- 1 How to Start the Engine of the Rear Tine Tiller?
- 2 How to stop the engine on the rear tine tiller?
- 3 Top Tilling Advice for a Rear Tine Tiller
- 4 Rear Tine Tiller Cleaning and Storage
- 5 How to Maintain the Rear Tine Tiller?
- 6 How to Replace the Belt of a Rear Tine Tiller?
- 7 Frequently Asked Questions
- 8 Prepare Your Garden with Confidence
Last Updated on November 28, 2024 by John Patterson
A gorgeous garden – flourishing and healthy – begins with the right base; a rear tine tiller is an ideal tool to do the work right. But as a novice to this powerful equipment, figuring out how to wield it the right way might feel scary.
This guide30 breaks it all down for you—that is, how to start and stop the engine and how to maintain and store it. By the end, you’ll be fully prepared to turn hard, compacted soil into workable earth that’s good to plant in.
How to Start the Engine of the Rear Tine Tiller?
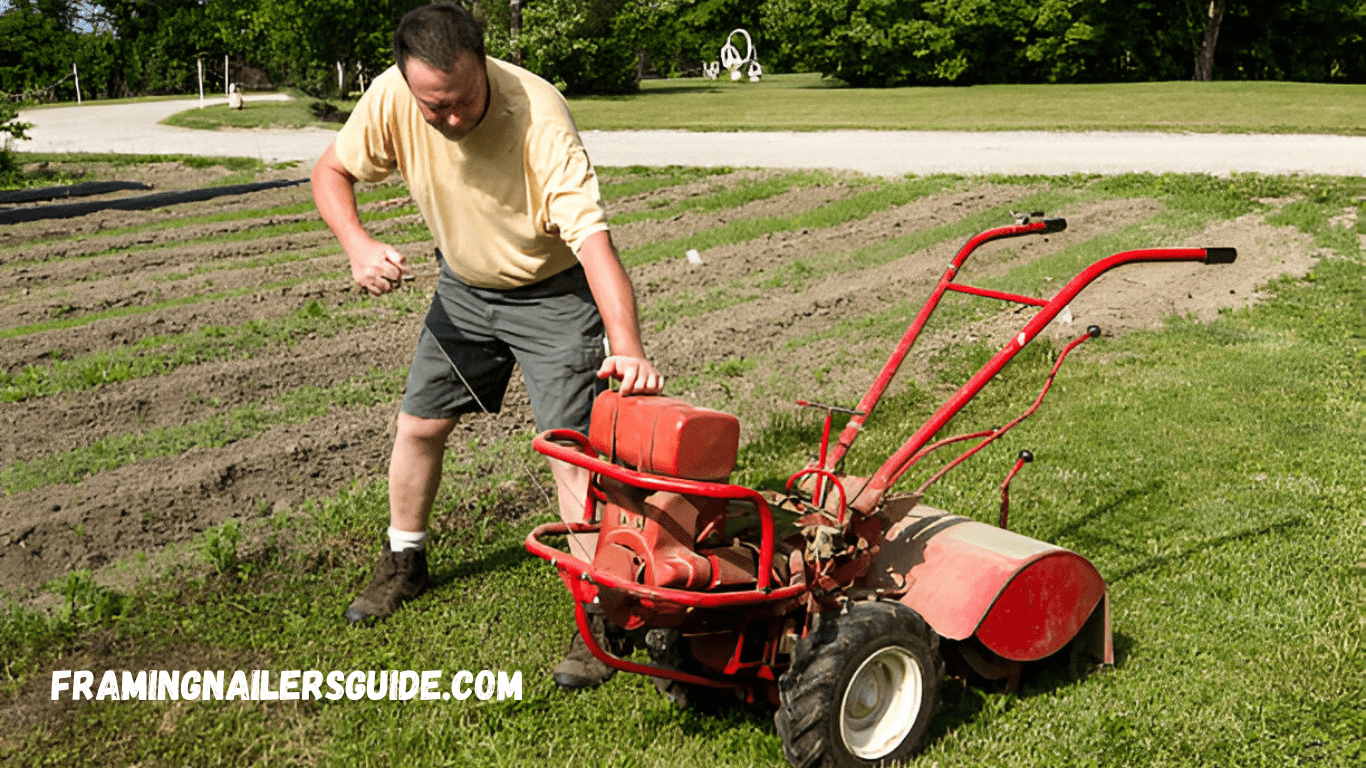
The most important thing, of course, is safety. Take care to wear protective equipment, like gloves, boots, and eye shield. Once you’re prepped, here’s how to get your rear tine tiller running.
Step 1: Check the Fuel and Oil
Make sure the tiller has enough fuel and that engine oil is at the proper level. A properly lubricated engine will operate smoothly and efficiently.
Step 2: Prime the Fuel System
If your tiller has a primer bulb, pump it a half dozen times to prime the engine with gas. This step is important if your tiller has been sitting for a while.
Step 3: Set the Controls
Throttle Control: Adjust this to the start or fast position.
Choke lever: If starting a cold engine, set the choke to the “closed” position. If you have a warm engine, set the choke into the “open” position.
Step 4: Pull the Starter Cord
Pull the starter cord, forming a steady, firm pull. Pull it several times before the engine roars to life. When it fires, slowly push the choke handle into the “open” position and it should run from there.
That’s it! Your rear tine tiller is now set up and ready to start working on your land.
How to stop the engine on the rear tine tiller?
Once you want to get done with the tiller, stop it as safely as possible, to maintain the engine and yourself. Here’s how to do it, step by step.
Release the Throttle
This works just by pulling the throttle back to get the motor back to its idle speed. Will prevent unnecessary wear on the engine.
Turn Off the Engine
Move the ignition switch or stop button to the OFF position to shut down the machine completely.
Disconnect the Spark Plug
For extra safety — especially if doing any maintenance — remove the spark plug so that the machine won’t start up accidentally.
Once properly powered down, the engine on your tiller is in a good place and ready for next time.
Top Tilling Advice for a Rear Tine Tiller
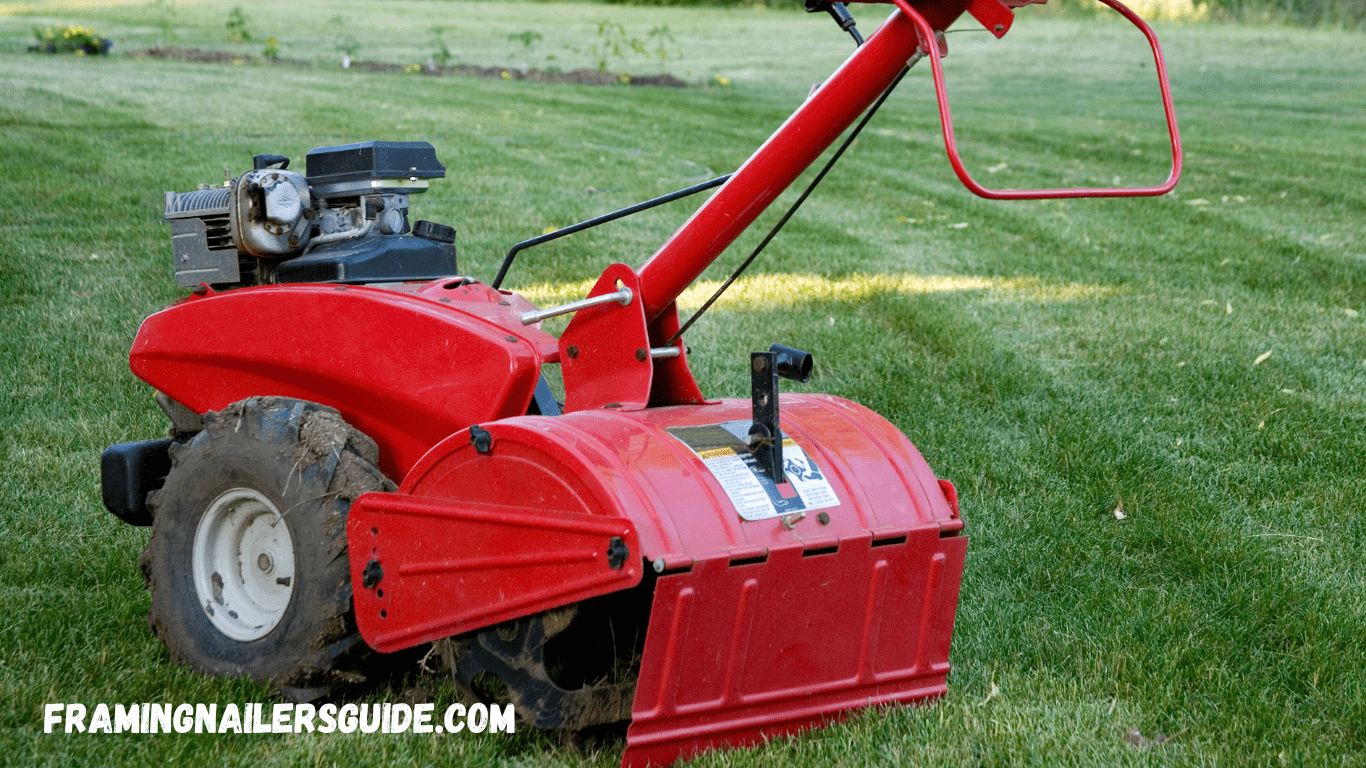
Some expert tips to help you till smoothly, effectively and safely.
Choose the Right Time
Until the soil is just moist; not soggy, not dry. Excess moisture can cause compaction of the soil, whereas too little makes it more challenging to till it.
Start Slow
To do more good than harm, start with a shallow tilling depth, particularly if the soil is hard, and then work deeper.
Use Overlapping Rows
To ensure even tilling, just overlap your rows slightly for coverage in all areas.
Mind Obstacles
Tilling areas with large rocks, roots or debris that could damage machinery should be cleared.
Rear Tine Tiller Cleaning and Storage
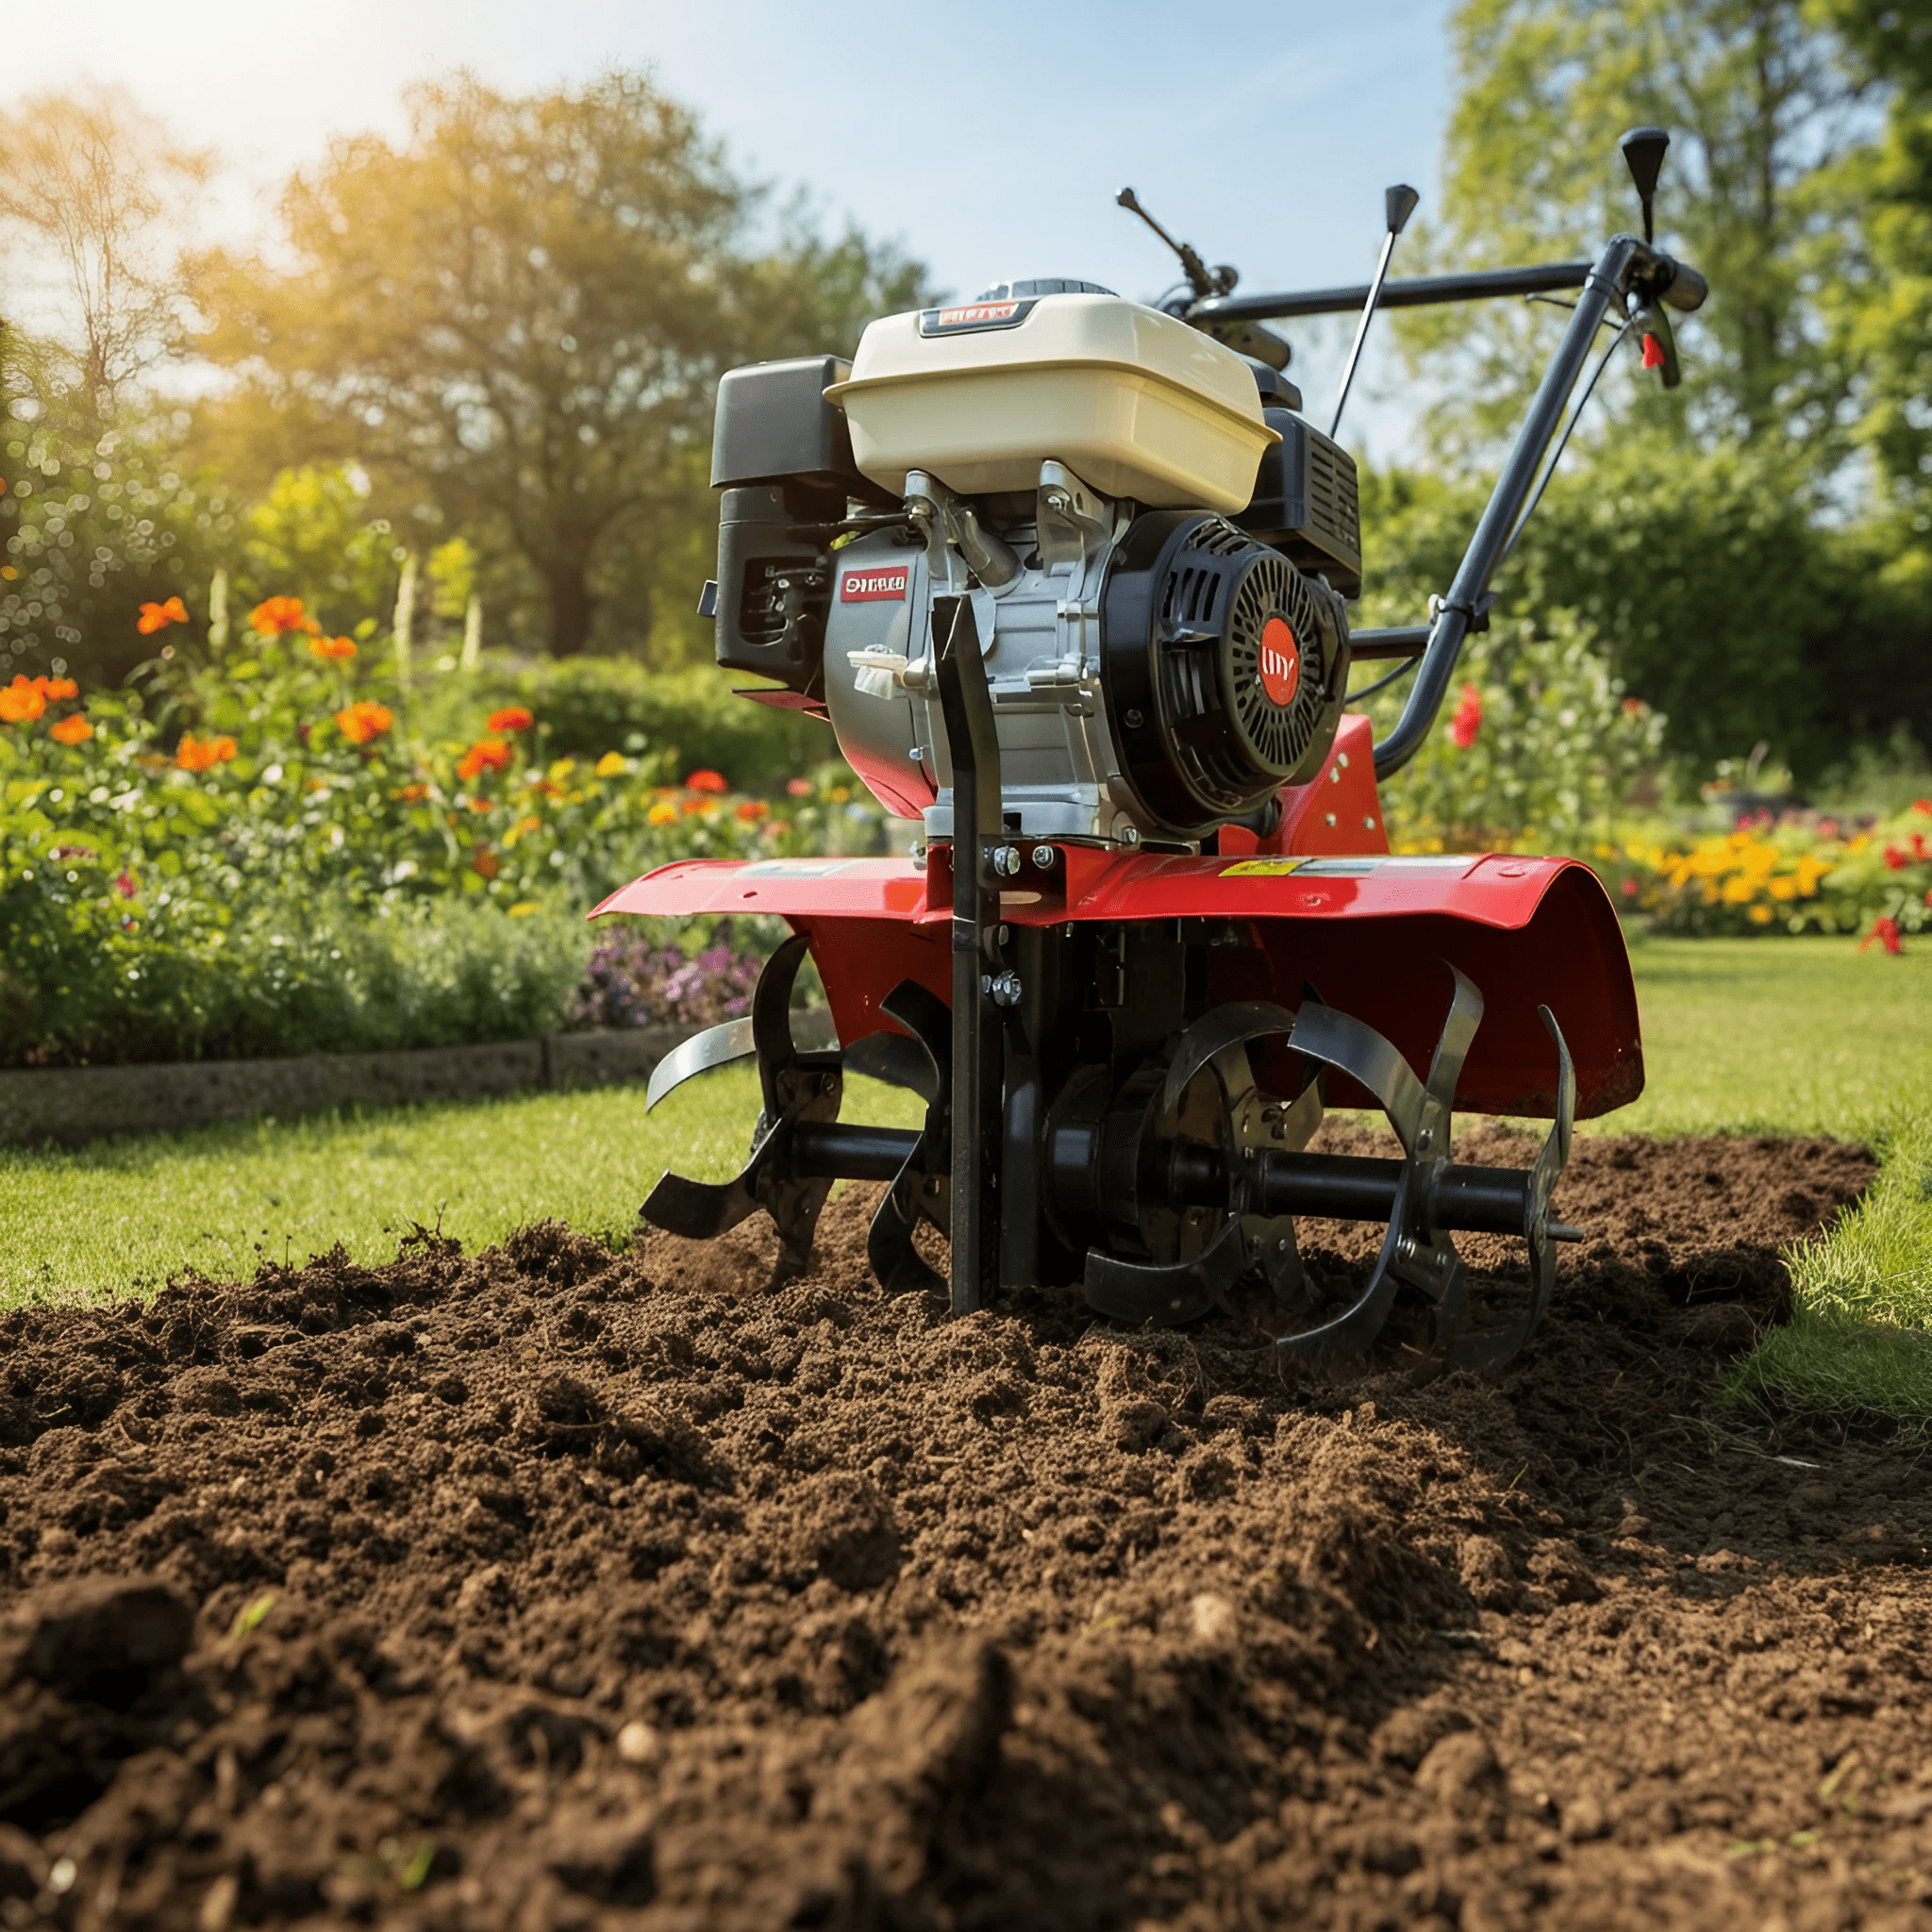
A little cleaning and proper storage will prolong the life of your rear tine tiller. After each use, practice the best practices
Remove Soil and Debris
Remove dust and grass clippings from the tines and wheels with a garden hose. Brush or scrape off stubborn debris.
Dry Thoroughly
Remember to dry your tiller completely to avoid rust.
Store Safely
Store the tiller under dry, sheltered conditions, on a surface above ground level (to prevent moisture damage).
How to Maintain the Rear Tine Tiller?
Doing regular maintenance keeps your rear tine tiller in tip-top shape performance. Here’s what to focus on.
The Engine
Replace oil every 25-30 hours or as specified in the user manual. Also, replace the air filter at intervals to maintain the engine running at peak efficiency.
Lubrication
Fattore della manovella, come denti e assi, per ridurre l’attrito e l’usura nel tempo.
How to Replace the Belt of a Rear Tine Tiller?
The separation of the components of the system means that the drive belt may have to be replaced after a period of operation. Guidance: Check the tiller’s manual for more detailed instructions. Normally, this requires loosening the belt tensioner, removing the worn-out belt, adding a new one, and then re-tightening the tensioner.
Frequently Asked Questions
Will A Rear Tine Tiller Break Up Rocky Dirt?
Yes, but you will first need to clear the area of large rocks, so you don’t damage the tines.
Can a rear tine tiller be used as a plow for unbroken land?
Absolutely! Rear tine tillers are powerful enough to break new ground but need to make additional passes to adequately till compacted soils.
During what intervals should I maintain my rear tine tiller?
Get regular maintenance—oil changes, belt checks and so on—at least once a season.
Recommended fuel type?
Consult your tiller’s manual, but most machines run fine on regular unleaded gasoline.
Tilling Depth for a Rear Tine Tiller:
How deep can I till with a rear tine tiller?
Dig to about 6-8 inches down, which is plenty deep enough for most gardens. Change the depth to fit your planting purposes.
Prepare Your Garden with Confidence
Using a rear tine tiller may initially seem intimidating, but with these steps and tips, you’re on your way to mastering it. Use your tiller correctly, maintain it regularly, and store it mindfully to have a handy machine that makes your gardening endeavors much easier.
Now that you know how to use a Rear Tine Tiller and how it’s time to dismantle and get your hands dirty. For more gardening tools and tips, check out our library of resources, or feel free to contact our team for personalized advice!
